
Logbook settings
Set the default RST per mode, the starting band and mode, the fields of the entry bar and the starting choices of every import.
FreeUpdated for HamQSO 0.1.19
On this page
The Logbook settings apply to your whole log: the RST the entry bar suggests for each mode, the band and mode of your first QSO, the fields you want to see while logging and the starting choices of every ADIF import. Every change is saved on its own, there is nothing to confirm.
Opening the settings
You can get there from two places:
- Open Profile and tap Logbook settings (on phone and tablet, under the title it reads "Station profiles, defaults, dupes").
- Or open Log, tap ⋮ (Log menu) next to the Operations title and choose Logbook settings.
The page has four parts, from top to bottom: Station profiles, Defaults, Logging and Import and export. On tablet, desktop and web it is the same page, in a centred column of comfortable reading width.
Station profiles
The first card, Station profiles, tells you how many profiles you have and which one is the default, for example "2 profiles, default Home". Tap it to open the list of profiles: creating and using them is explained in Station profiles.
Defaults
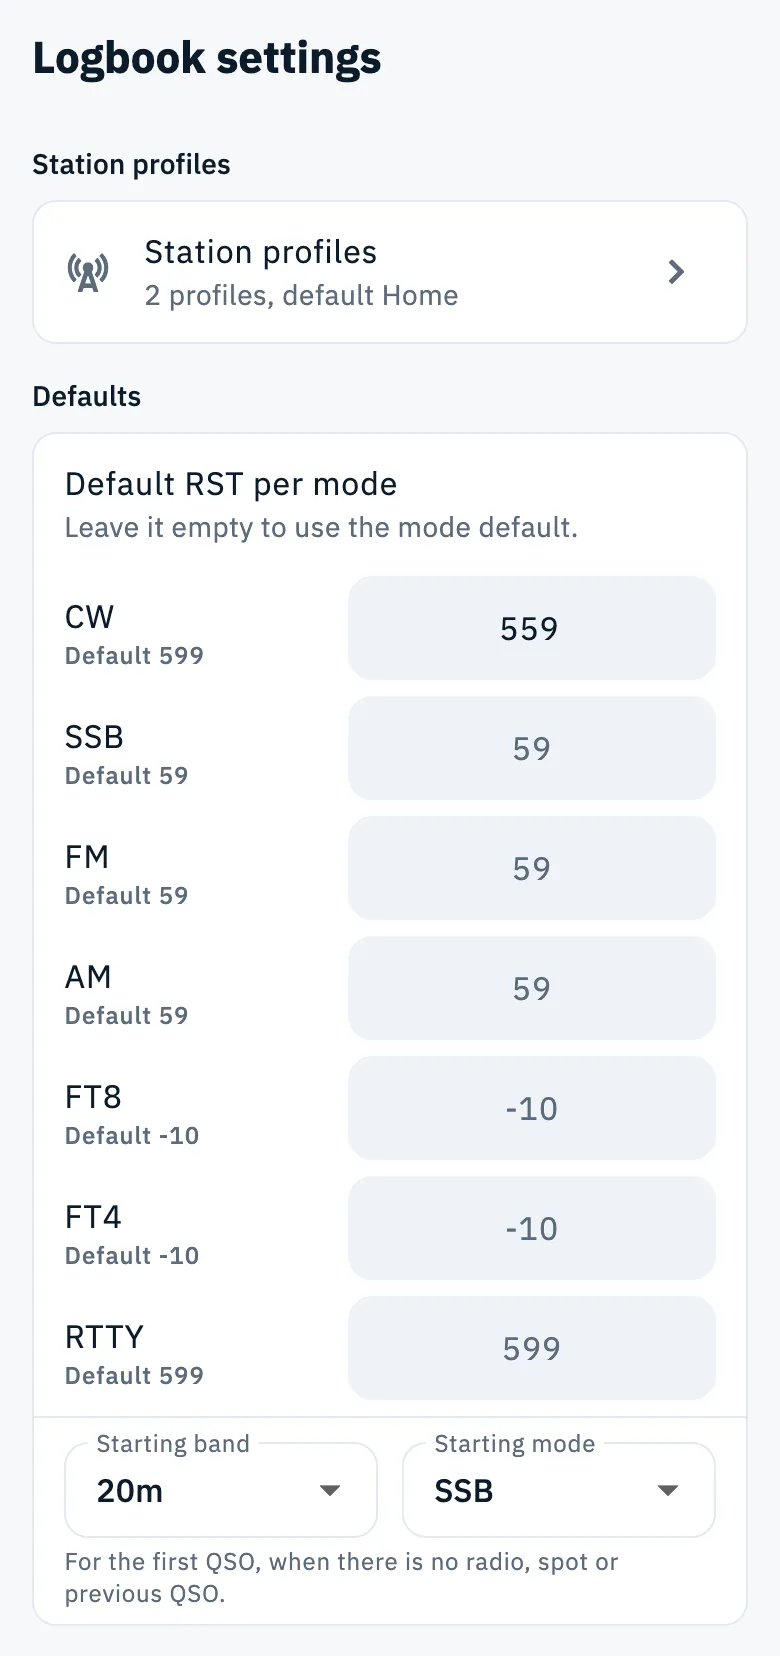
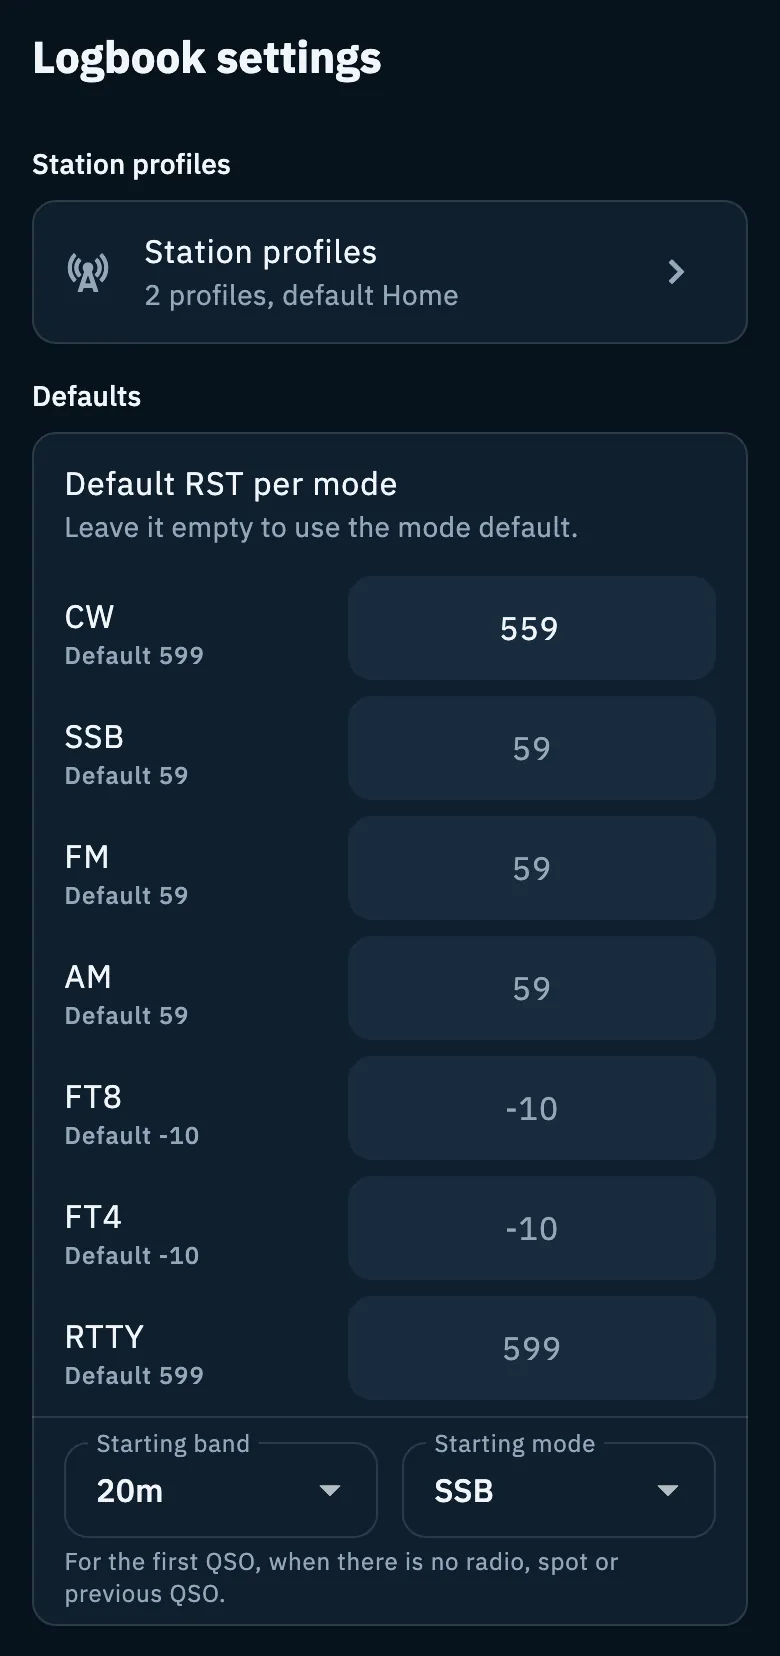
Default RST per mode
The entry bar already fills in the RST sent and received. Here you decide which one, mode by mode.
- Find the mode in the list: CW, SSB, FM, AM, FT8, FT4, RTTY. Under each mode you read its standard value, for example "Default 599".
- Tap the field next to the mode and type the RST, for example
559. - Confirm from the keyboard or tap outside the field: the value is saved.
- To go back to the standard value, empty the field ("Leave it empty to use the mode default.").
| Mode | Default |
|---|---|
| SSB, FM, AM | 59 |
| CW, RTTY | 599 |
| FT8, FT4 | -10 (report in dB) |
The field takes an RST such as 59 or 599, or a one or two digit report in dB, with or without a sign (-10, +05). Anything else shows "Not a valid RST (e.g. 59 or 599)" under the field, and the value is not saved.
Starting band and starting mode
They are used for the first QSO, when the app has nowhere to take band and mode from: no connected radio, no spot you are logging from and no earlier QSO in the log.
- Open the Starting band menu and choose a band (from 160m to 23cm) or No preference.
- Open the Starting mode menu and choose a mode (SSB, CW, FT8, FT4, FM, AM, RTTY, PSK31, JS8, SSTV) or No preference.
The entry bar picks band and mode in this order: the connected radio, then the spot you are logging from, then the last QSO, then the QSO defaults in the operation settings, and only at the end Starting band and Starting mode. With No preference as the mode, the first QSO starts in SSB. See also Frequency, band and mode of a QSO.
Logging
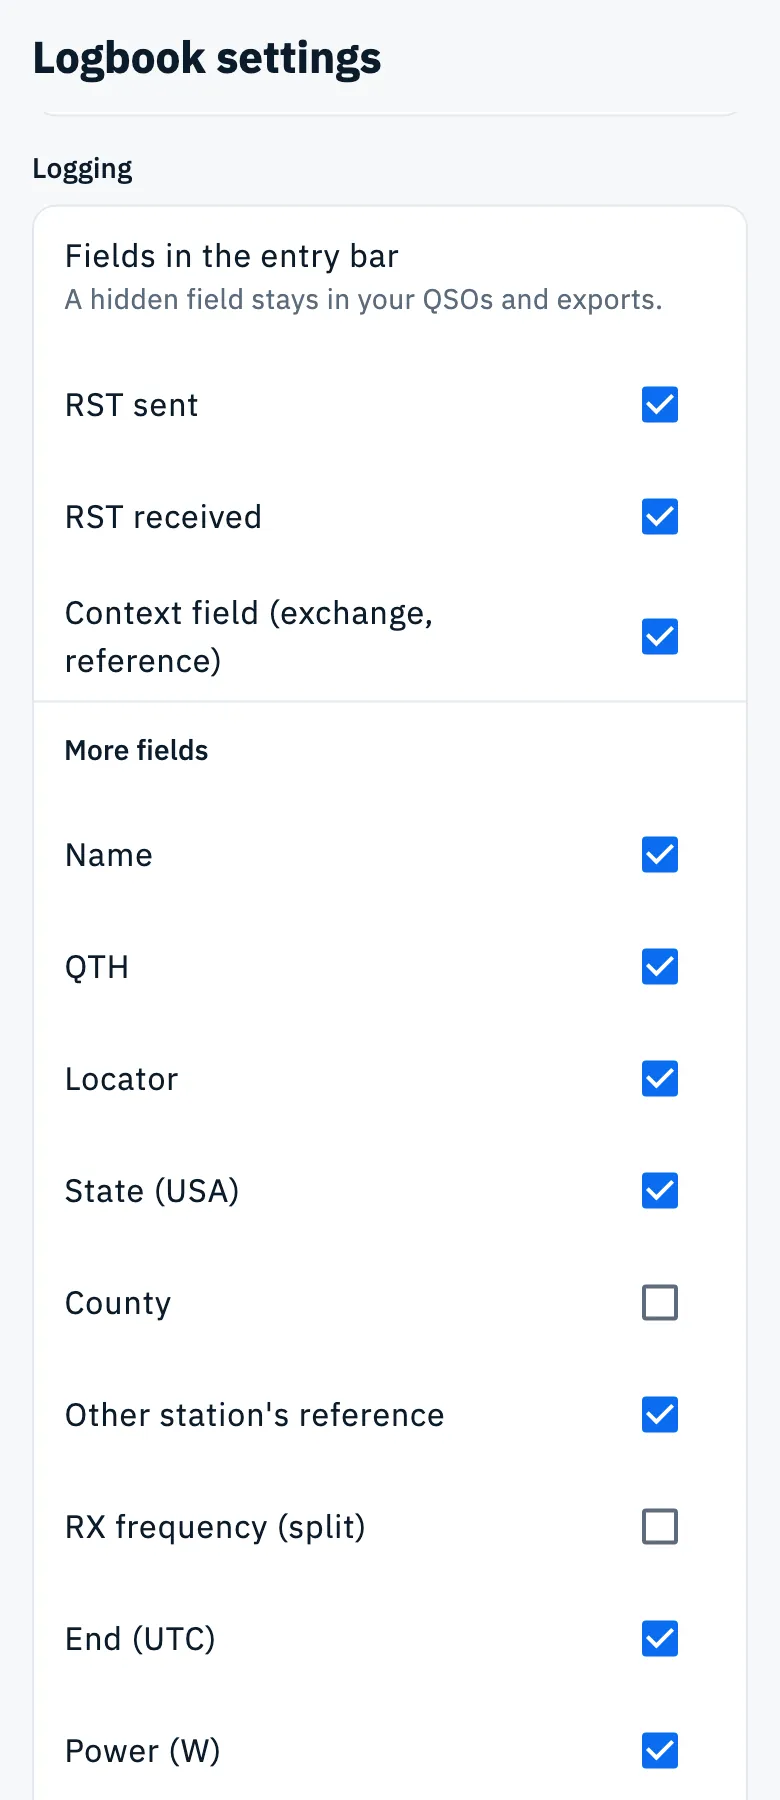
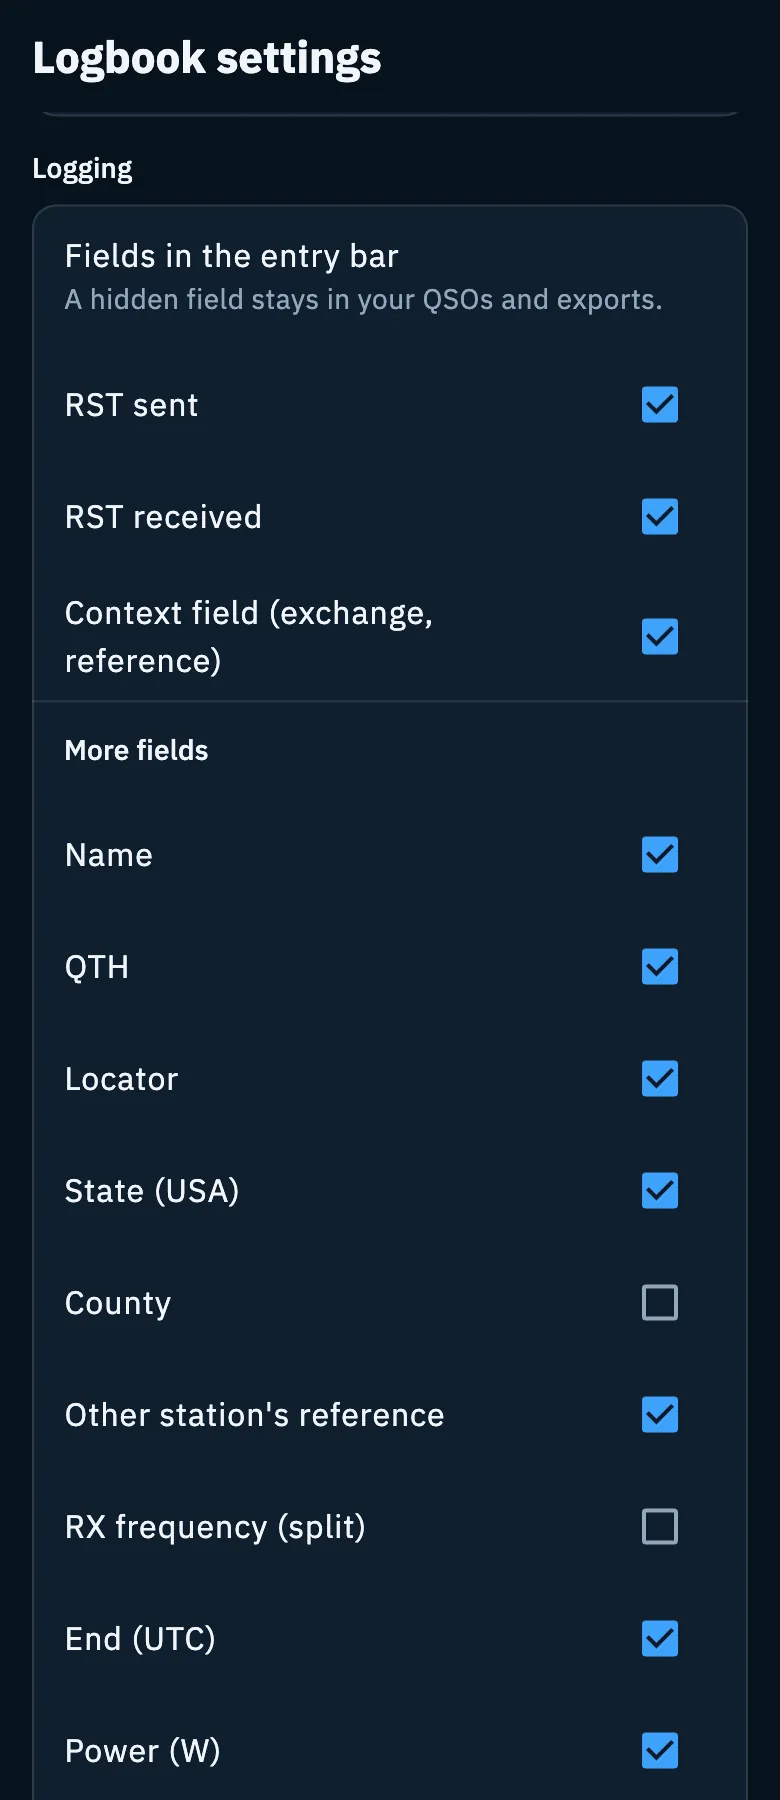
Fields in the entry bar
Choose which fields you see when you log a QSO. Callsign, date and time, frequency, band and mode are always there.
- Under Fields in the entry bar, untick the fields you do not use.
- Tick them again to bring them back.
| Where | Fields |
|---|---|
| In the bar | RST sent, RST received, Context field (exchange, reference) |
| In More fields | Name, QTH, Locator, State (USA), County, Other station's reference, RX frequency (split), End (UTC), Power (W), Contest, Comment, Personal notes |
At first they are all visible. Hiding a field only takes it out of view: "A hidden field stays in your QSOs and exports." The suggested RST is still saved in the QSO when its fields are hidden. If you untick every field, they all become visible again.
Under the list the app reminds you: "QSO dates and times are always UTC."
Dupe check in new operations
Below the fields there is the Dupe check in new operations card, with No check, Once across all bands, Once per band and Once per band and mode (the default). Every operation has its own dupe rule, which you change in the Duplicate check section of the operation settings: what each rule does is explained in Who you are working, and dupes.
Import and export
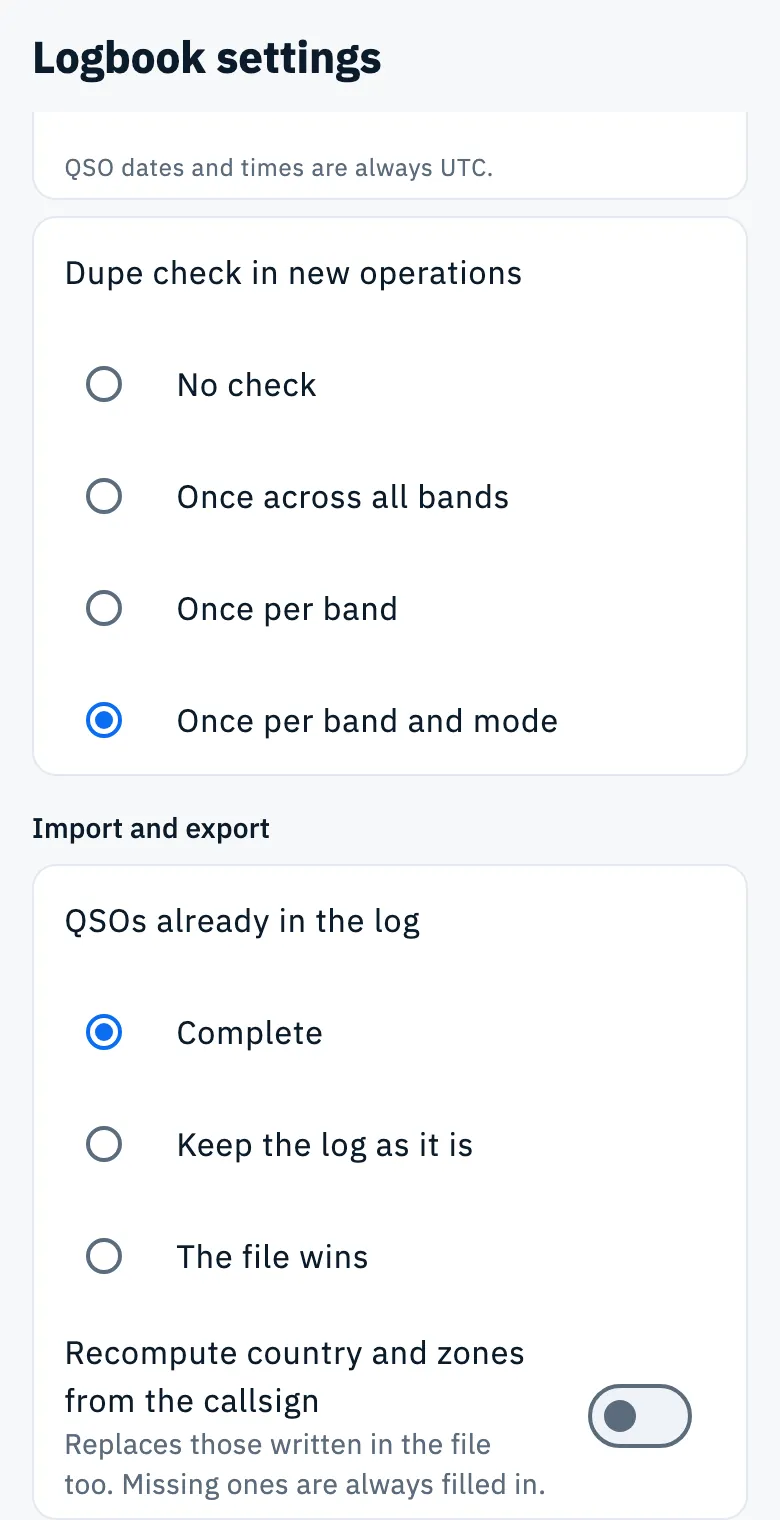
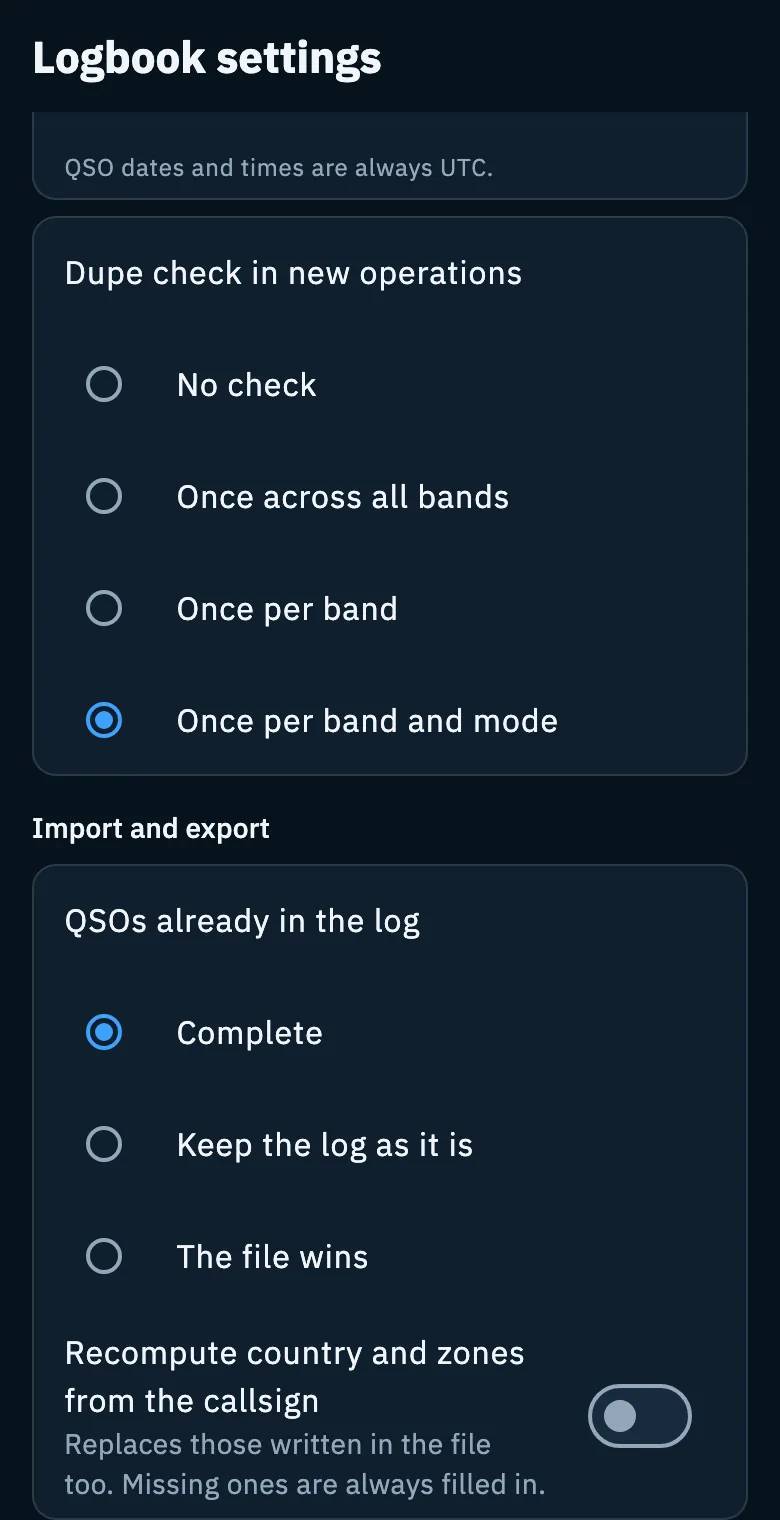
Here you choose how every ADIF import starts. On the import page you can always change them for that time (see Importing an ADIF file).
- Under QSOs already in the log, choose what to do with the QSOs of the file you already have.
- Turn Recompute country and zones from the callsign on or off.
| Option | What it does | Default |
|---|---|---|
| Complete | QSOs already in the log stay as they are and take from the file only the data they lack. | Yes |
| Keep the log as it is | QSOs already there stay as they are. | |
| The file wins | For QSOs already there the file wins: operation and services stay, the rest comes from the file. | |
| Recompute country and zones from the callsign | Country and zones come from the callsign. "Replaces those written in the file too. Missing ones are always filled in." | Off |
There is nothing to set here for the export: the export page remembers your choices from the last time on its own (see Exporting your log as ADIF).
What you do not find here
The name of this device and the accounts for callsign lookup (QRZ.com, HamQTH) are in Profile > Linked services: see Services on several devices and QRZ.com and callsign lookup.
Troubleshooting
| Message | What to do |
|---|---|
| "Could not read the logbook settings" | Tap Retry: the app tries to read them again. |
| "Setting not saved. Try again." | The last change was not saved: make it again. |
| "Not a valid RST (e.g. 59 or 599)" | Type an RST such as 59 or 599 or a dB report such as -10, or empty the field to use the default. |