
Filtering spots by band and mode
Keep only the bands and modes you can work in the DX and xOTA lists, see activity and propagation per band, follow the band of your radio.
Free and ProUpdated for HamQSO 0.1.19
On this page
At the top of the DX and xOTA lists you find two filters: the band strip, which also shows where the activity is and how propagation looks, and the mode row. With a few taps the list keeps only the spots you can actually work.
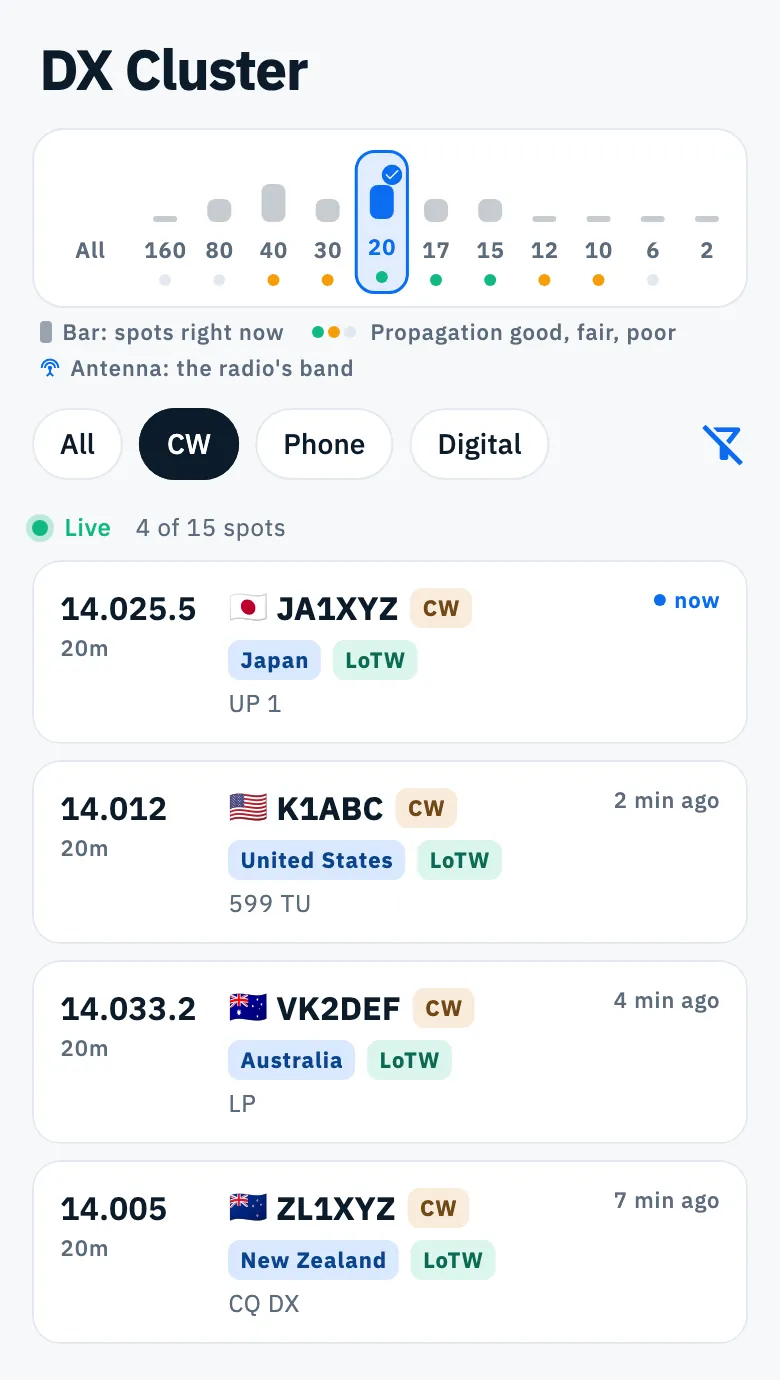
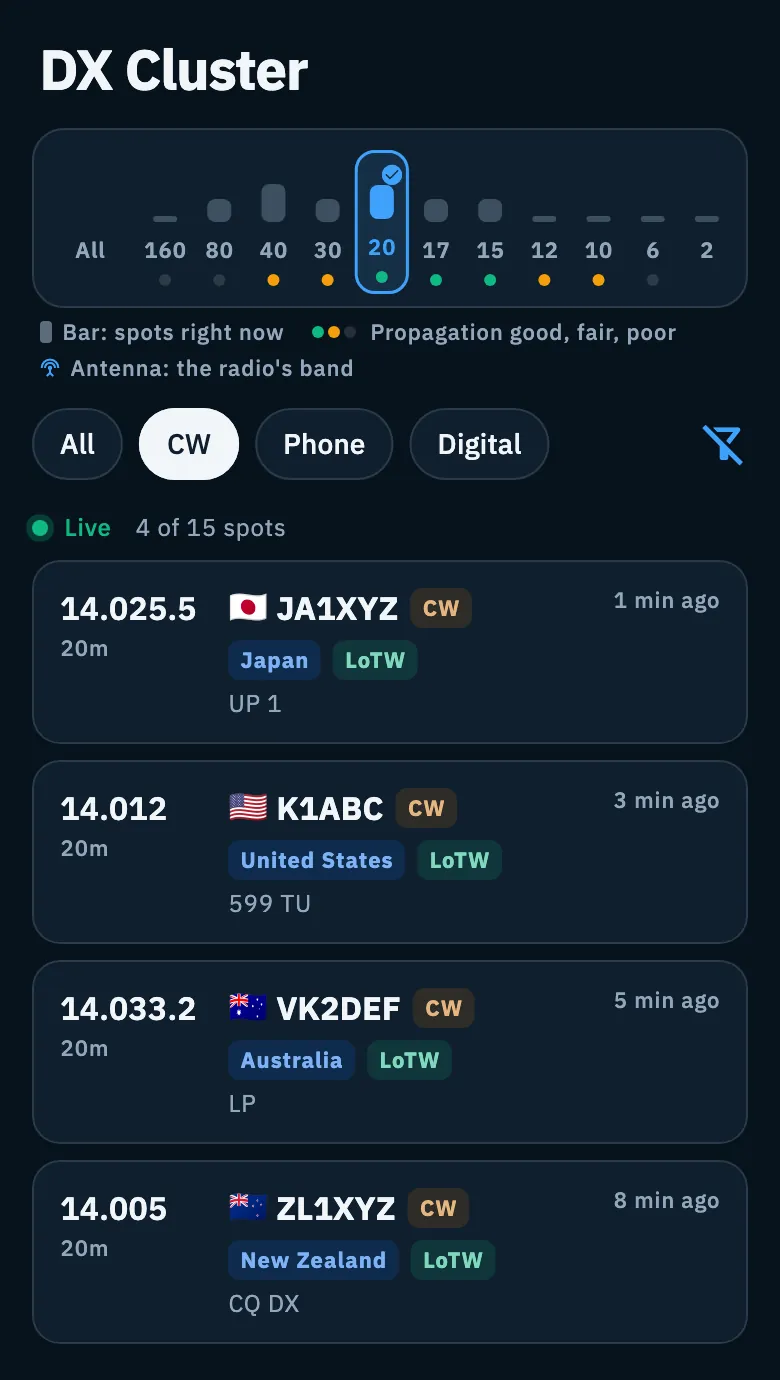
Reading the band strip
The strip at the top of the list has one cell per band. The 160, 80, 40, 30, 20, 17, 15, 12, 10, 6 and 2 m bands are always there; the others (for example 60 m, 4 m, 70 cm) appear only when they have spots.
Each cell shows:
- the bar: the more spots there are on that band right now, the taller it is. It counts only the spots that pass the other filters: with CW chosen, the bar counts CW spots.
- the band name, without the "m" (20, 40…).
- the dot with the propagation forecast for the band: green good, amber fair, grey poor. No dot means there is no forecast for that band.
- the antenna, above the band your connected radio is on (see below).
The line under the strip is the legend: "Bar: spots right now", "Propagation good, fair, poor", "Antenna: the radio's band".
Choosing bands
- Open DX (or xOTA).
- Tap a band in the strip: the list shows only its spots and the band gets a border, colour and a tick.
- Tap other bands to add them: you can choose as many as you like together.
- Tap a chosen band again to remove it.
- Tap All, the first cell of the strip, to go back to every band. The mode you chose stays.
A spot with a frequency outside the amateur bands belongs to no band: with a band chosen you do not see it.
Choosing the mode
Under the strip is the mode row: All, CW, Phone, Digital.
- Tap CW, Phone or Digital to keep only those spots.
- Tap more modes to combine them (for example CW and Digital).
- Tap a chosen mode again to remove it.
- Tap All in the mode row to see every mode.
| Mode | What it includes |
|---|---|
| CW | CW |
| Phone | SSB (USB, LSB), AM, FM and digital voice (DV, DMR, C4FM, D-STAR) |
| Digital | FT8, FT4, RTTY, PSK, JS8, SSTV, WSPR, VARA and the other digital modes |
A spot whose mode is in none of these groups is "Other": you see it only with All.
The filter uses the mode you see on the spot, also when it is marked as estimated (the spot does not state the mode and the app takes it from the band plan or from recent spots of the same station): see Reading the DX Cluster list.
What is remembered
| Filter | Default | Saved |
|---|---|---|
| Bands | All bands | No: when you open the app again the list starts from every band |
| Mode | All | Yes, on the device. One choice for DX and xOTA together: the lists start from the modes you chose last |
| Radio band | Off | No |
With a filter on, the first row of the list says how many spots you see out of how many there are, for example "4 of 15 spots".
Letting the list follow your radio's band
With a connected radio the list can show only the band the radio is on, and change it by itself when you change band on the radio.
- Connect your radio (see Connecting your radio).
- In the DX or xOTA list, before the modes, the Radio band (20m) button appears with the antenna and the band the radio is on. Tap it.
- Change band on the radio: the list follows. In the strip the antenna marks the radio's band.
- To stop, tap Radio band again, choose a band by hand, or tap All in the strip or Clear filters.
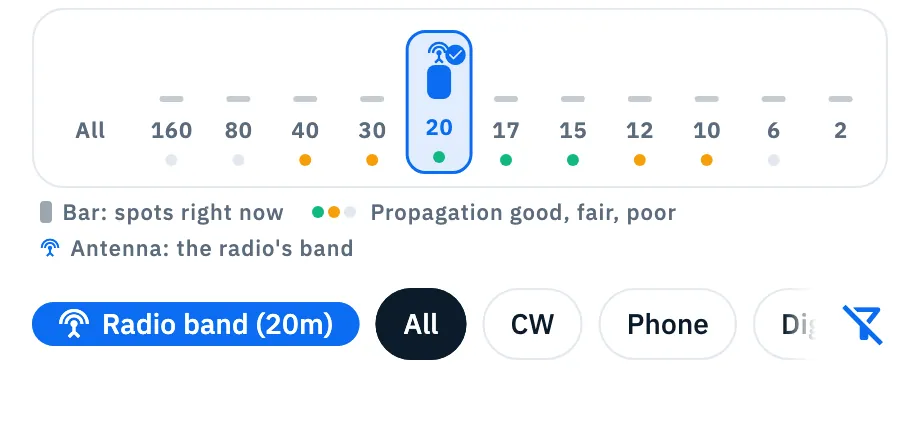
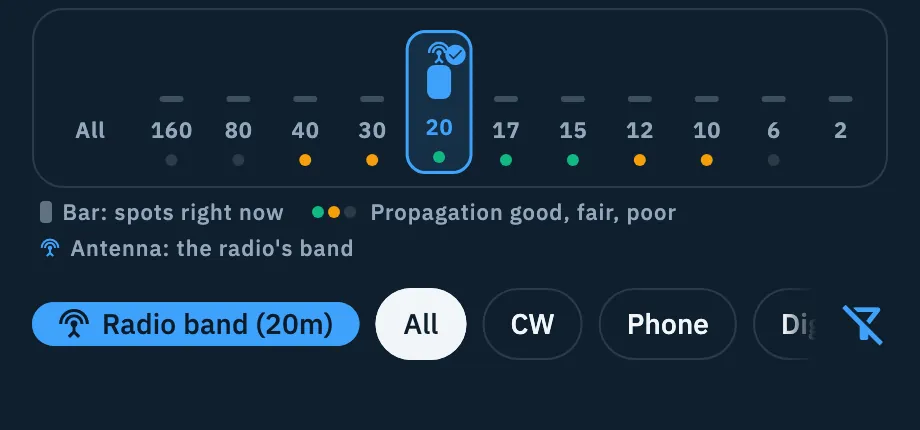
The button is not there without a connected radio or when the radio is outside the bands. If the radio leaves the bands or disconnects while the list follows it, you see every band again; when the radio is back on a band, the list follows it again. It follows the band only, not the mode. To tune the radio by tapping a spot see Tuning the radio from spots.
Clearing the filters
When a filter is on, Clear filters appears after the modes, with a crossed-out filter icon.
- Tap Clear filters: bands, modes and Radio band go away together and you see the whole list again.
It also resets the saved mode to All. In xOTA the program tab you opened stays: it is navigation, not a filter (see Following activations on the air).
Phone, tablet and desktop
- Phone and tablet: in each cell the bar, name and dot are stacked, with the antenna on top; the legend is under the strip and wraps when needed. Clear filters is only an icon when the row is narrow (under 560 pixels, that is on a phone and in the tablet list). The modes scroll sideways when they do not fit.
- Desktop and web on a computer: the strip is lower, name and dot are on one line and the antenna sits beside the name. Clear filters has its label. In a short window the legend moves to the status row of the list, or behind an "i" icon: it opens with a click, a tap or Enter, never on hover.
- In the xOTA list the chosen bands take the colour of the open program.


More differences between devices in Phone, tablet and web.
Troubleshooting
- "No spots match your filters": no spot passes the chosen filters right now. Add a band or a mode, or tap All in the strip or Clear filters.
- The list opens already filtered by mode: it is the mode you chose last, saved. Tap All in the mode row.
- I don't see the Radio band button: the radio is not connected or is on a frequency outside the bands. See When the radio does not answer.
- I chose a band and the list stopped following the radio: by design, choosing a band by hand turns Radio band off. Tap it again.
- There are no dots on the bands: propagation data is missing. The filter works anyway. Some bands do not always have a forecast: 2 m has a dot only with sporadic E, 70 cm never.
- A spot disappears with CW, Phone or Digital: its mode is in none of these groups, so it is "Other" and you see it only with All.