
Connecting your radio
The step-by-step guide to control your radio via CAT: model, USB cable or computer with rigctld, radio menu values and a real connection test.
Free and ProUpdated for HamQSO 0.1.19
On this page
The Connect your radio guide takes you step by step from your radio's model to a real test of the CAT connection. At the end the radio is saved in My station with its CAT and is the radio in use on this device: from then on you tune it from spots with one tap.
Opening the guide
You can open the guide from several places:
- the tip New: connect your radio and tune it with one tap on a spot. above the DX Cluster list and the activation lists (see below);
- the line Connect your radio to tune it with one tap in a spot's detail, when no radio is connected (see Opening a spot);
- Connect via CAT on a radio of My station that has no CAT on this device yet (see My station: radios and antennas);
- Step-by-step guide in the detail of a radio that already has CAT on this device, to set the connection up again;
- the coverage test, when its radio check fails.
At the top you see Step 1 of 5 (the total depends on your answers) and a progress bar. Tap Next to go on: it stays off until the step has an answer. Back goes to the previous step; on the first step it closes the guide.
The tip above the lists


As long as no radio has CAT set up on this device, a small line sits above the DX Cluster list and above the POTA, SOTA and WWFF activation lists:
- Tap it to open the guide.
- Or tap the X (Don't show again) to hide it for good.
The line also goes away by itself once you set up CAT for a radio. In a short desktop window the line becomes an antenna icon next to the filters: hover it to read the text, click it to open the guide, and its small X closes it the same way.
1. Which radio do you have?
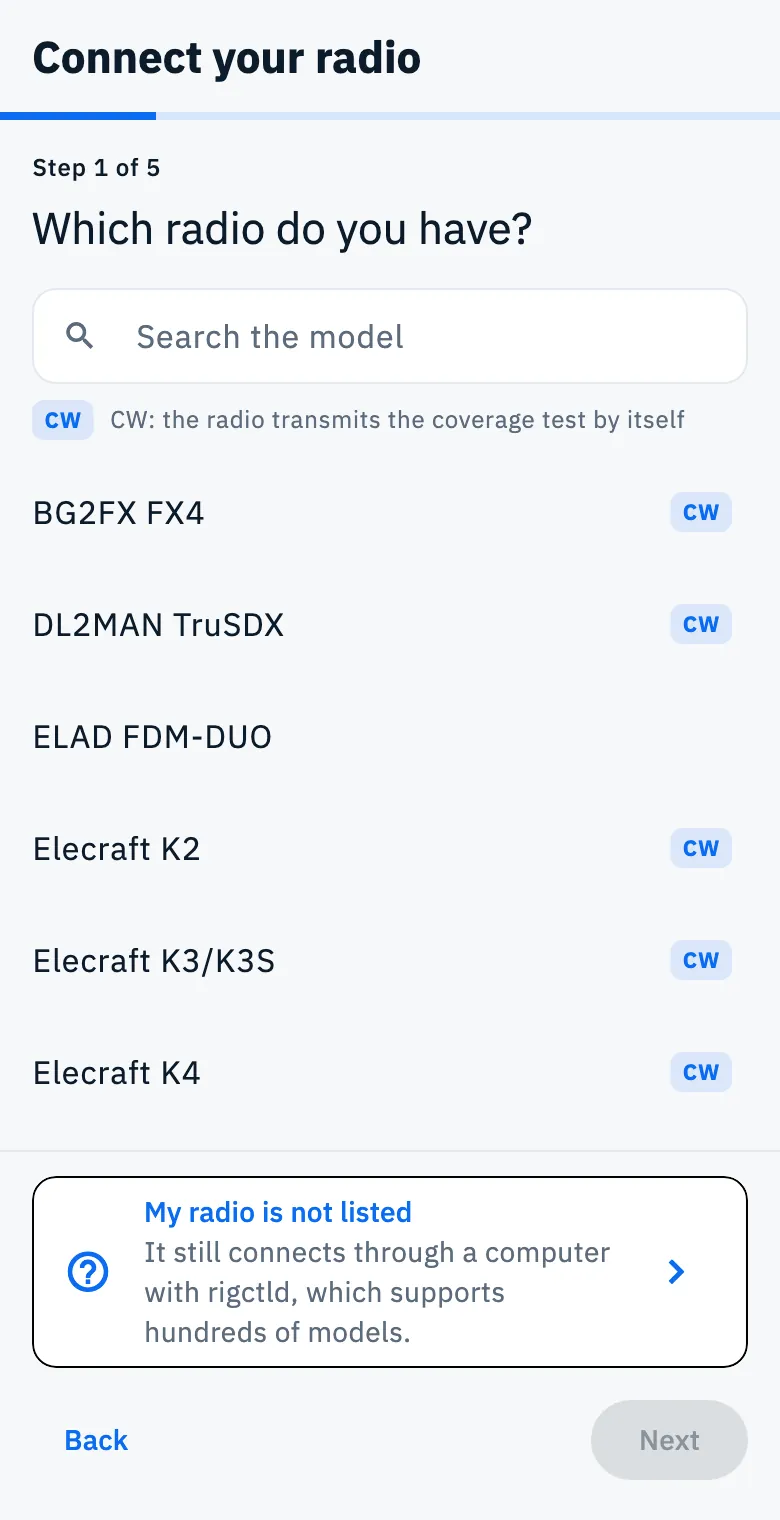
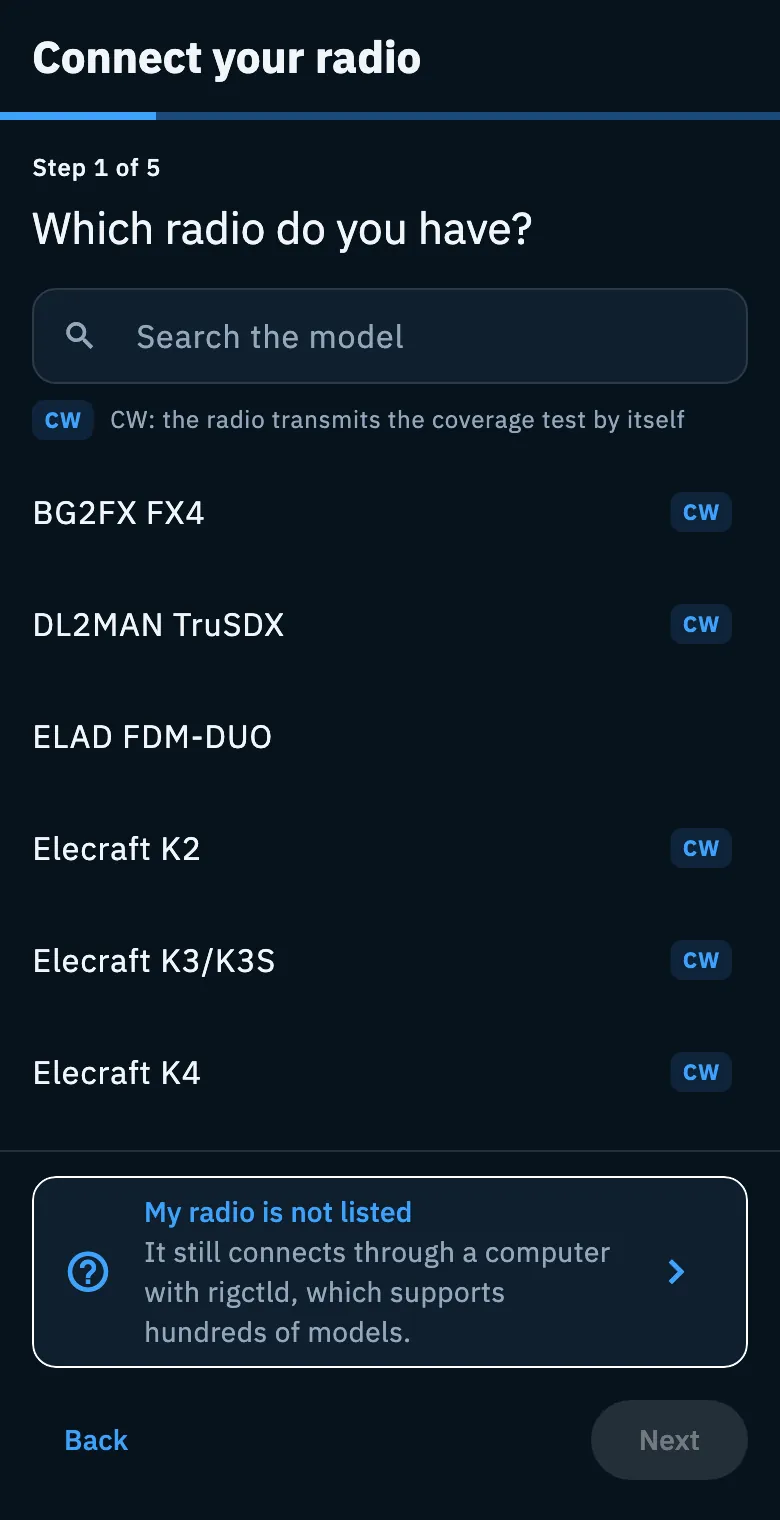
- Type part of the name in Search the model (for example “705”): the list narrows as you type.
- Tap your model: a check mark appears.
- Tap Next.
The list holds the models the app controls directly over a cable (Icom, Kenwood, Elecraft, Yaesu, Xiegu and others). The CW mark next to a model means CW: the radio transmits the coverage test by itself: the app can send CW through CAT.
If your model is not there, tap My radio is not listed: It still connects through a computer with rigctld, which supports hundreds of models. In that case the guide skips the radio menu step.
If you open the guide from Connect via CAT or Step-by-step guide of a saved radio, the radio shows at the top with “Icom IC-705, already in your radios” and, if its model is in the list, the guide skips this step.
2. How do you connect it?
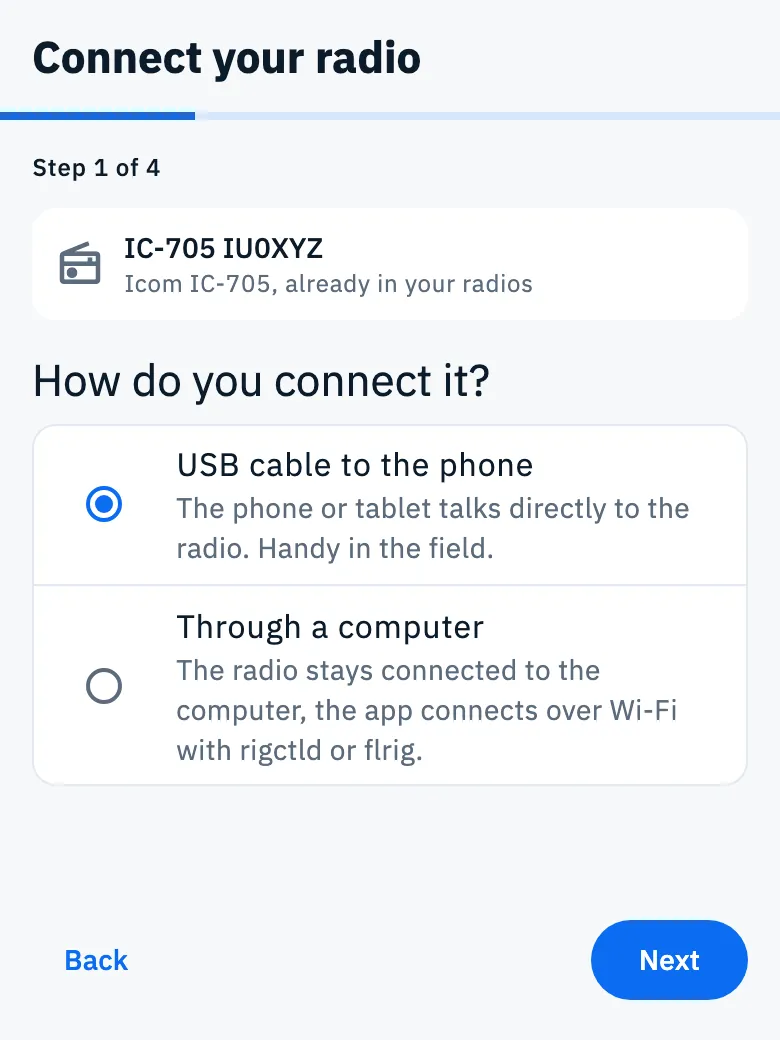
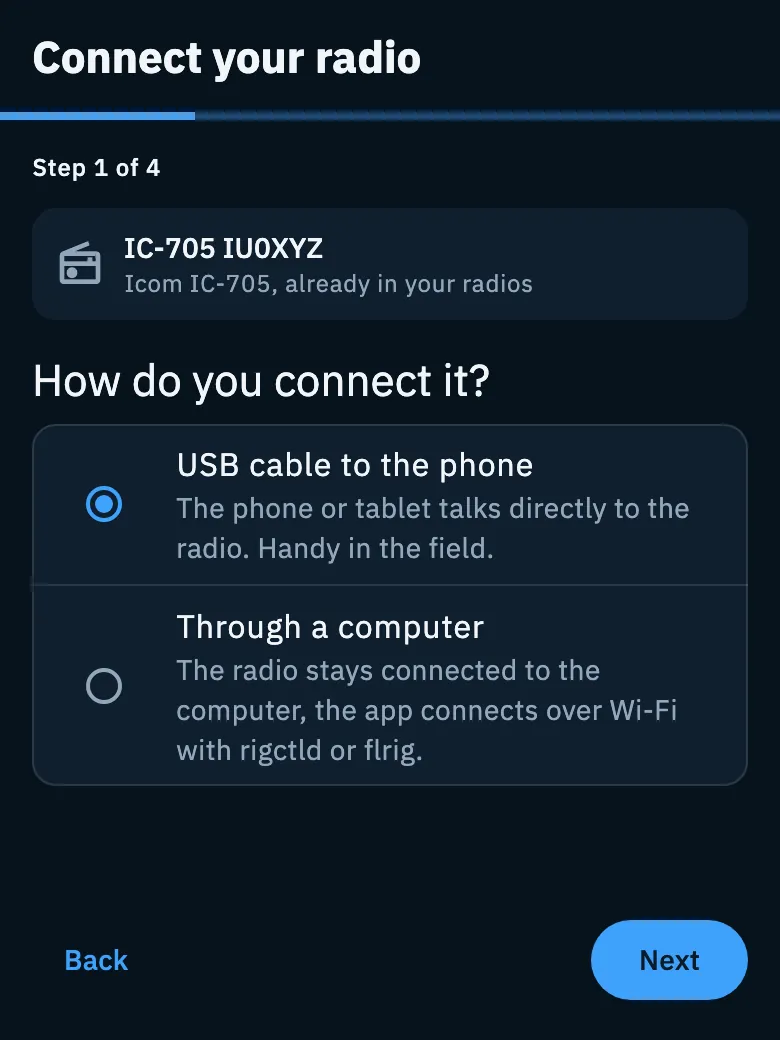
Pick one of the two ways and tap Next:
| Choice | What it means |
|---|---|
| USB cable to the phone | The phone or tablet talks directly to the radio. Handy in the field. Android only. |
| Through a computer | The radio stays connected to the computer, the app connects over Wi-Fi with rigctld or flrig. |
On Android the cable is selected by default. With My radio is not listed only Through a computer is left. On iPhone and iPad there is only Through a computer, with the note “On iPhone and iPad Apple does not allow a cable to the radio: it goes through a computer.”
In the browser this step is not there: on the web the radio connects only with a USB cable to the computer.
3a. The cable
If you chose the cable, the step The cable tells you what you need:
- if the radio has a USB port: its USB cable and an OTG adapter for the phone;
- if the radio has no USB: a CAT cable with a USB converter (CP210x, FTDI, CH340 or PL2303 chip) and an OTG adapter;
- when you plug the cable in, Android asks to use USB: tap “Allow”.
In the browser the texts talk about the cable to the computer, and when you test the connection the browser asks which port to use: pick the radio's.
Plug the cable in and tap Next.
3b. The computer (rigctld)
If you chose Through a computer, you set up a computer (or a Raspberry Pi) connected to the radio with Hamlib's rigctld. The app writes the right commands for you.
- In Which computer do you use? pick Windows (already selected), macOS or Linux: the commands below change to match.
- 1. Install Hamlib: copy the command with the Copy button (“Copied” appears). On macOS it is
brew install hamlib, on Linuxsudo apt install libhamlib-utils; on Windows you read “Download the Hamlib installer for Windows here:” and copy the link https://github.com/Hamlib/Hamlib/releases. - 2. With the radio connected to the computer, run: copy the
rigctldcommand, already written with your model's Hamlib number and speed, for example for an IC-705 on Linux:rigctld -m 3085 -r /dev/ttyUSB0 -s 19200 -T 0.0.0.0 -t 4532. The port is an example (COM3 on Windows, /dev/cu.usbserial-0001 on macOS, /dev/ttyUSB0 on Linux): replace it with the radio's port on your computer. - 3. The computer's address: type the computer's network address, for example 192.168.1.20. You find it in the computer's network settings. Phone and computer must be on the same Wi-Fi.
- Tap Next (it stays off while the address is empty).
With My radio is not listed the command contains <model>: find your radio's number with rigctl -l on the computer and put it in place of <model>.
The guide always creates a rigctld connection on port 4532. If you already use flrig (port 12345, XML-RPC server on), you can set it up on the radio's card in My station: see Connection types: USB, rigctld and flrig.
4. Set up the radio
With a model from the list, the guide tells you which values to check in the radio's menu: “In the Icom IC-705 menu, check these values:”.
| Radio | Values |
|---|---|
| Icom and Xiegu | CI-V speed (baud) and CI-V address (for the IC-705: 19200 and A4h) |
| Other makers | CAT speed (baud) |
Menu names change from radio to radio: look for CAT or CI-V in the radio's manual. Set the values and tap Next.
Below, What the app does with this radio sums up what you can do via CAT with that model:
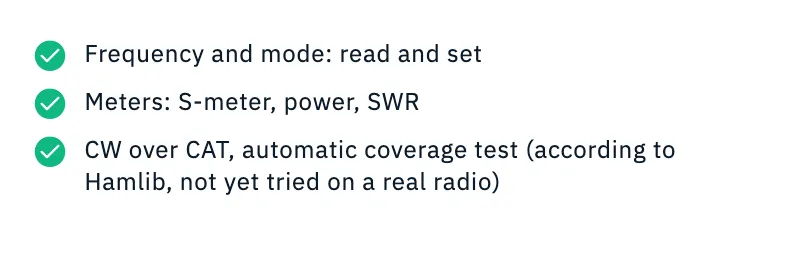
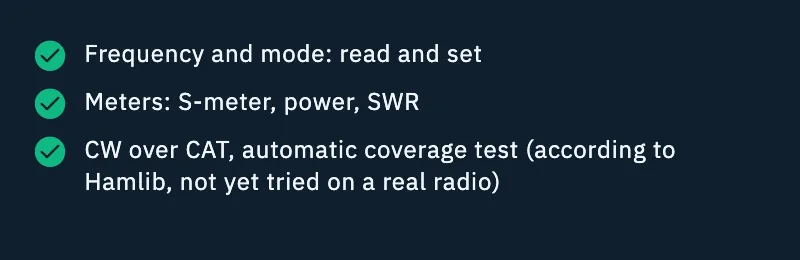
- Frequency and mode: read and set, for every model;
- Meters: S-meter, power, SWR for CI-V radios (Icom and Xiegu), otherwise Meters: not available over USB;
- CW over CAT, automatic coverage test, with “(according to Hamlib, not yet tried on a real radio)” or “(tried on a real radio)”; for radios without CW over CAT, No CW over CAT: coverage test in manual mode.
5. Test
The last step tests the connection for real.
- Turn the radio on.
- Tap Connect: the button becomes Connecting….
- If the radio answers, a big green check appears with “It works! The radio is on …” and the frequency read from the radio (or just “Connected”, if no frequency comes back), and below it “… is now the radio in use on this device.”.
- Tap Done.
The test saves the radio in My station (a new one named after the chosen model, or the one you started from) with its CAT, makes it the radio in use and connects it. The radio stays saved even if it does not answer: fix the problem and tap Connect again. To use it, see Using the connected radio.
A radio that does not connect from the browser
In the browser, if you tap My radio is not listed (its hint reads “From the browser, the listed Icom, Kenwood, Elecraft and Yaesu radios connect over USB.”), the next step is This radio does not connect from the browser: from the browser only the listed models connect over USB, the others connect from the HamQSO app on your phone, through rigctld on a computer. Below you find the links to get the app from the stores.
Meanwhile you can save the radio without CAT:
- Type the Name and, if you like, the Model (from the list or typed).
- Tap Save the radio without CAT (it stays off while the name is empty): the radio goes into My station and the guide closes.
Free and Pro
Saving a radio without CAT, in the browser, stays free: the list of radios in My station is free and the same on all your devices.
Phone, tablet and web
| Where | How the radio connects |
|---|---|
| Android (phone and tablet) | USB cable to the phone, or through a computer (rigctld) |
| iPhone and iPad | Only through a computer (rigctld) |
| Web (Chrome and Edge on a computer) | Only a USB cable to the computer, with the listed models |
No Bluetooth: the radio connects only with a USB cable or over the network with rigctld and flrig. On a tablet and in a desktop window the guide looks the same, with a limited reading width. See also Phone, tablet and web.
Troubleshooting
- “The radio does not answer. Check the connection and the settings.” Check that the radio is on, the cable or the computer's address, that rigctld is running and that the radio menu values match the Set up the radio step, then tap Connect again.
- In the browser with a cable, instead of that sentence you get the The radio does not answer box with what to check: the chosen port (is it the radio's one?), the speed and the CI-V address equal to the radio's menu, and that no other program (WSJT-X, flrig, HRD) keeps the port open. Choose another port… lets you pick the port again in the browser.
- Next is off: pick a model or My radio is not listed, or type the computer's address.
- The cable is not among the choices: on iPhone and iPad Apple does not allow a cable; with My radio is not listed the cable is not used. Go through a computer.
For other cases see When the radio does not answer.