
Designing your own card
Design your own eQSL card in the editor, front and back: texts, shapes, photos, QSO and station data, then save it as a model.
ProUpdated for HamQSO 0.1.19
On this page
With the editor you design a card of your own: the front and, if you want, the back, with texts, shapes, photos, your logo, a map with the arc of the contact, and the data of the QSO and of your station. You save it as a model and use it for the eQSLs you send.
Opening the editor
- Open eQSL HamQSO from the Profile (on a computer it is also in the side bar).
- Open the Models tab.
- Choose where to start:
- Create your own, the first card at the top ("Free canvas: texts, photos, shapes and layers"): a blank card, front only, with the eQSL HamQSO mark;
- a model under Your models, then Edit: you change that model;
- a starter model, then Use as a base: you start from it and save a new model, the original does not change.
You also find Create your own when you choose the eQSL model of an operation (see The operation page); there, without Pro, the paywall opens straight away.
The editor works on the server: you need the network to open it and for the whole time you edit. While it opens you see a spinner: the editor loads the fonts before showing the card.
How it is laid out
At the top is the bar with the close button, Undo and Redo (the arrows), and Save. In the middle is the card; under the card, the quick bar (Duplicate, Forward, Backward, Delete) and a tip about the gestures. The tools are in four tabs: Add, Data, Style and Layers.
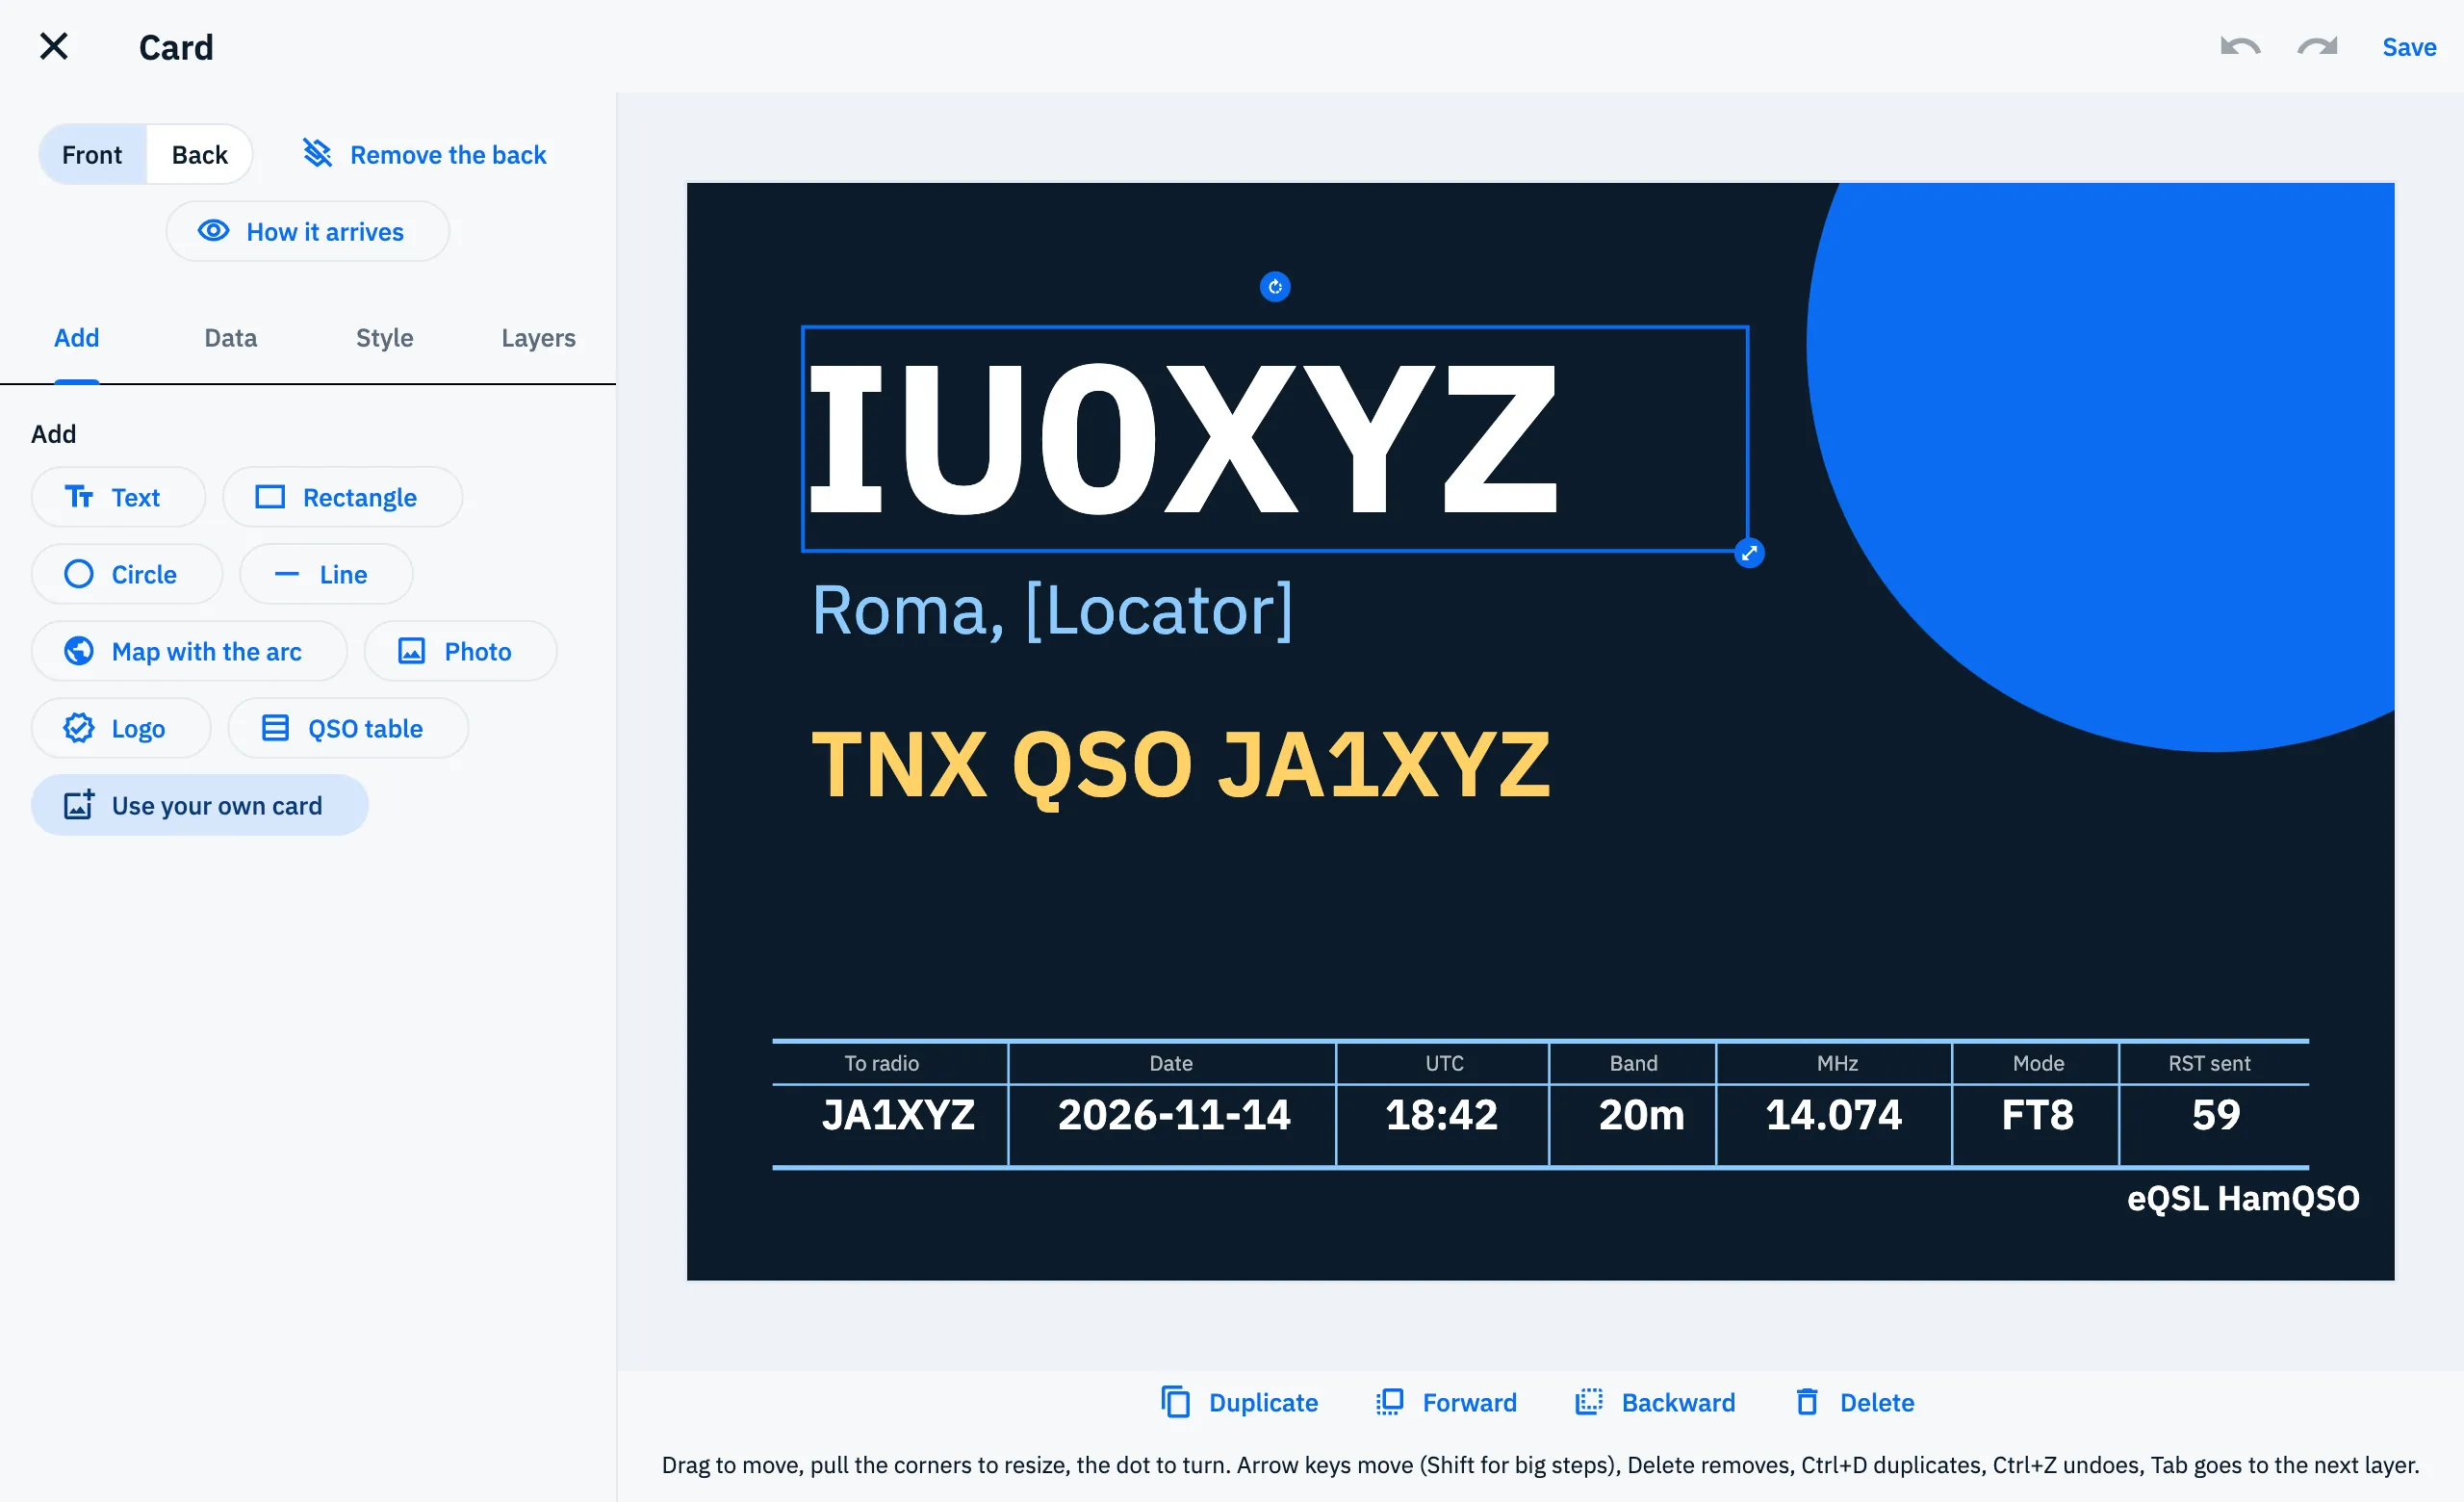
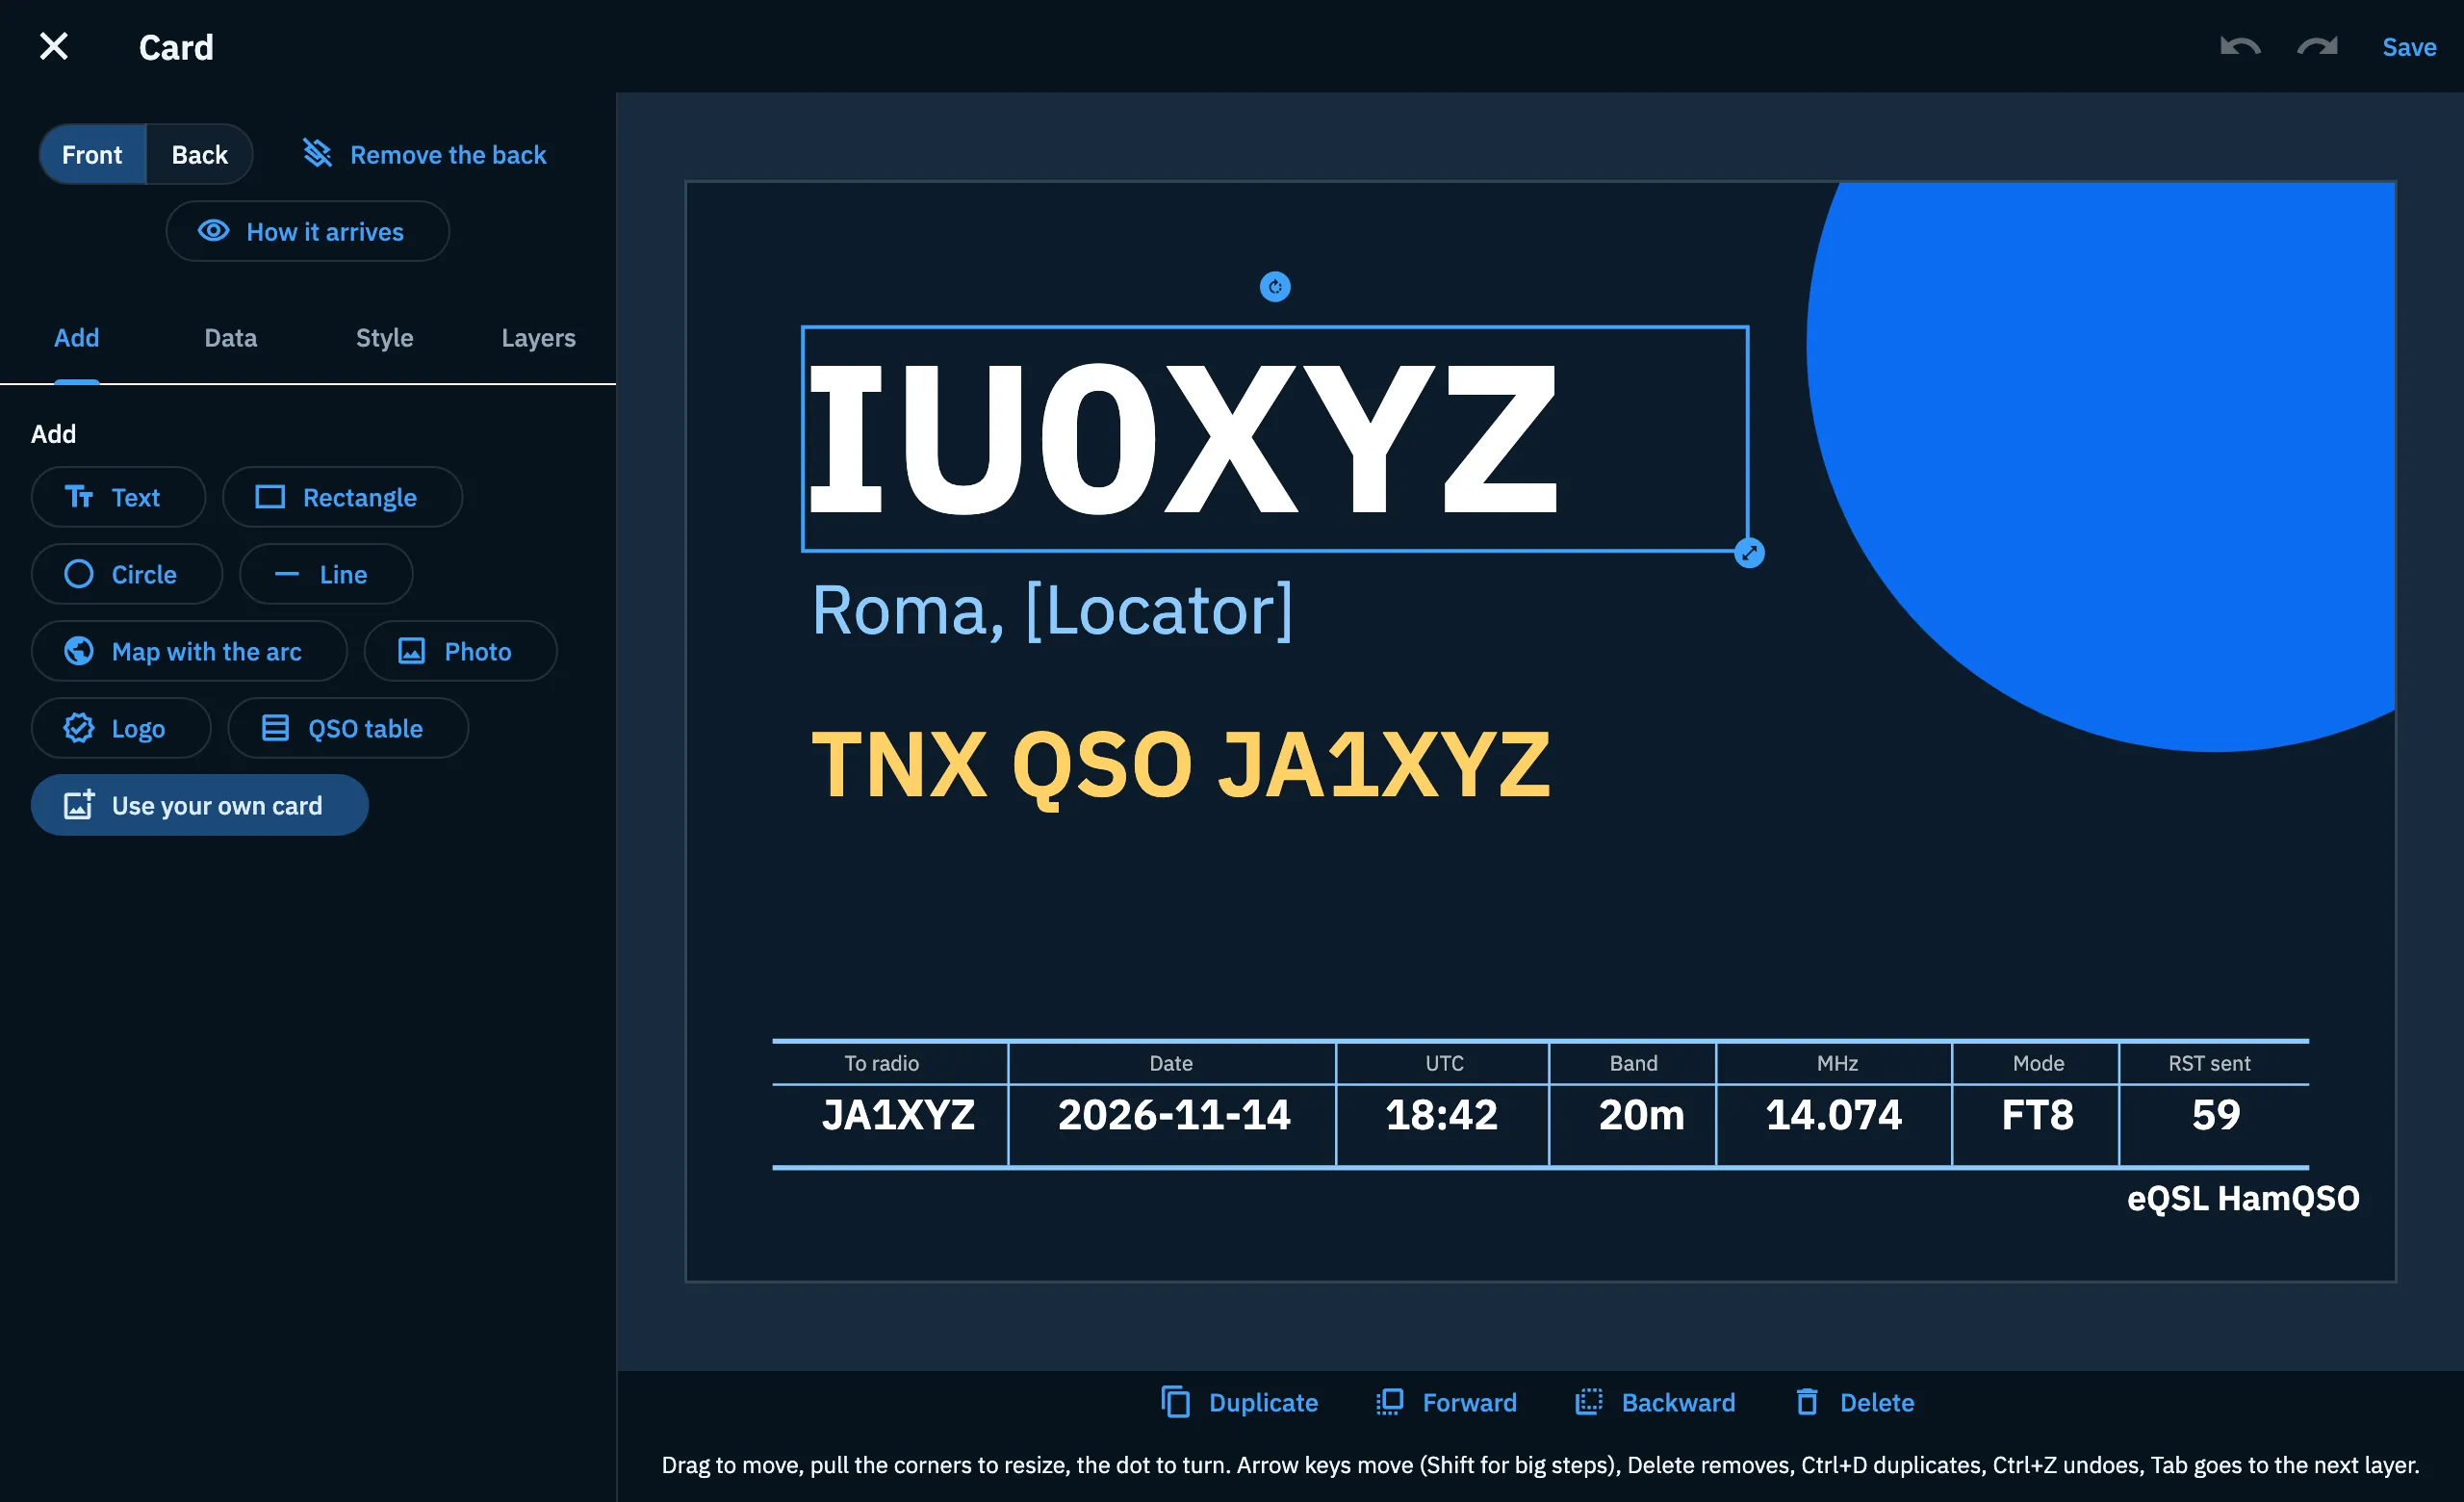
- Wide screen (a window at least 900 pixels wide, for example on a computer or the web): Front/Back and the tabs on the left, the card on the right.
- Phone: Front/Back at the top, then the card, then How it arrives, the quick bar and the tabs below.
The canvas is 1800 × 1157 pixels; sizes and positions of the layers are in these pixels.
Front and back
Above the card choose Front or Back. Back can be chosen only while the card has a back.
- To remove the back, tap Remove the back and confirm in "Remove the back?" ("The card will have the front only. Undo puts it back.").
- When the card has the front only you see Front only and Add the back. The back you add has the eQSL HamQSO mark and the QSO table.
If there is no back and the front shows no QSO data, a warning appears: "The front shows no QSO data and there is no back: whoever gets the card sees no callsign, date or band. Add a QSO field or the back.", with Add the back. On the phone it is a short line, "Front only: a QSO field is missing", with Details to read it all. A new card has the front only, so the warning stays until you add a QSO field, the QSO table or the back.
Adding elements
- Open the Add tab.
- Tap the kind of element: it appears in the middle of the face you are looking at, above the other layers, already chosen.
| Button | What it adds |
|---|---|
| Text | A white text with the word "Text": you change it in Style. |
| Rectangle | A blue rectangle. |
| Circle | A blue circle. |
| Line | A white horizontal line. |
| Map with the arc | A map with the arc from your locator to the other station's. |
| Photo | An image of your choice that fills its box. |
| Logo | An image of your choice, whole inside its box. |
| QSO table | A table at the bottom with callsign, date, UTC time, band, frequency, mode and RST sent. You turn the other columns on in Style. |
Use your own card puts an image as the background of the whole face, under every other layer: this way you use a card you have already designed elsewhere. If the face has no QSO table, it adds one. If you use it again, the background is replaced.
For Photo, Logo and Use your own card pick the image file and wait for the upload: meanwhile these buttons are off. JPG, PNG or WebP images up to 20 MB are accepted; the app compresses them before uploading.
Limits: at most 64 layers per face and 16 different images in a model. When you reach them you read "There are already 64 layers here: to add another one, remove one." or "The model already has 16 different images: to add another one, remove one."
Putting QSO and station data on the card
The Data tab has the fields the server fills in for each QSO. Tap a field: it appears on the card as a text, and you move and change it like any text.
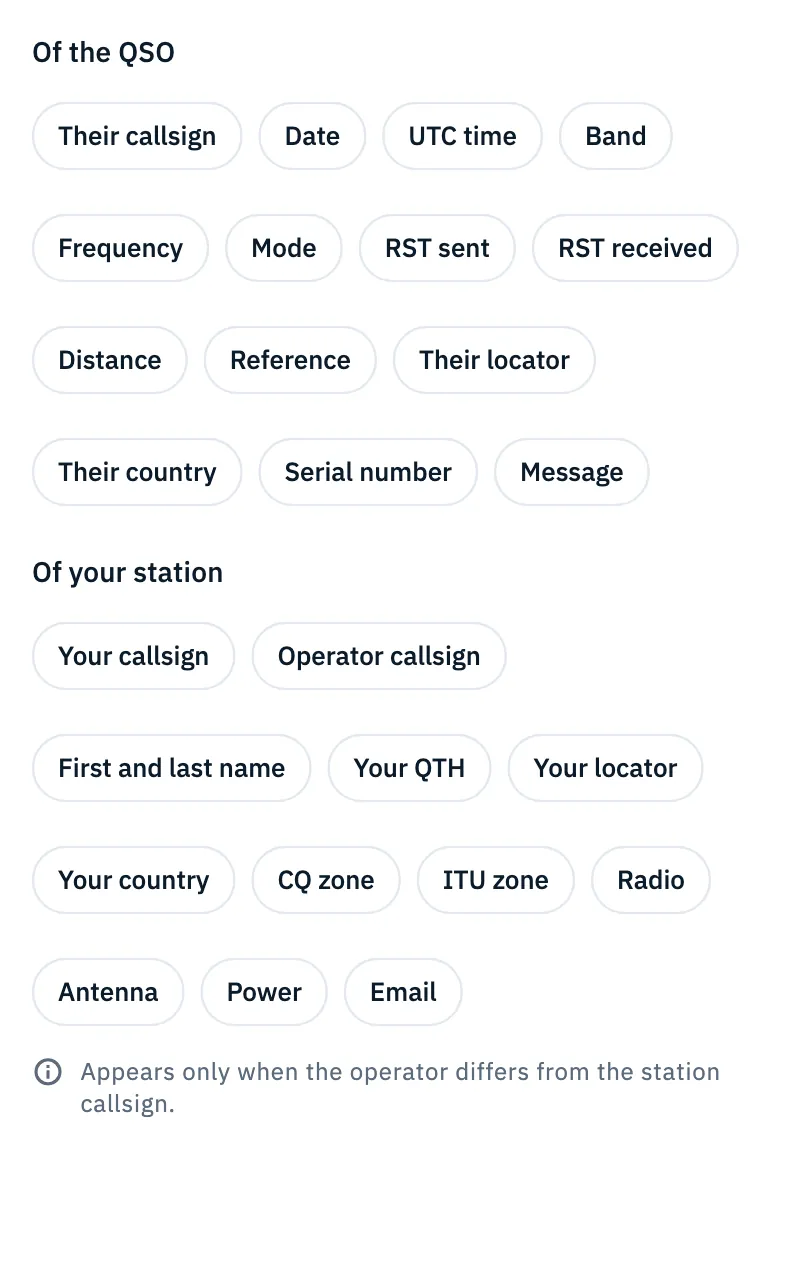
- Of the QSO: Their callsign, Date, UTC time, Band, Frequency, Mode, RST sent, RST received, Distance, Reference, Their locator, Their country, Serial number, Message.
- Of your station: Your callsign, Operator callsign, First and last name, Your QTH, Your locator, Your country, CQ zone, ITU zone, Radio, Antenna, Power, Email.
In the editor the QSO fields show a sample QSO; the fields of your station show your data, where there is some. A station field without a value shows as a placeholder in square brackets, for example "[Locator]". Locator, CQ zone, ITU zone, email and operator callsign are always placeholders in the editor: the server fills them in for each QSO. The eQSL you send always carries the real data of the QSO.
Operator callsign: "Appears only when the operator differs from the station callsign." You read this under the fields and in the Style tab of the layer that shows it.
The email notice
If you put the Email field on the card but the Show my email setting is off, this appears above the card: "The email will not appear on the eQSLs you send while «Show my email» is off. If you turn it on, whoever receives the eQSL sees (your address)."
- Tap Show my email to turn it on: you read "Email visible on the eQSL", with Undo to go back.
- Or close the notice with the X (Close the notice).
If your account has no email address the notice says "There is no email address in your account: the email will not appear on the eQSLs you send." On the phone it is a short line with Details. The notice appears only once on each device. The setting is in eQSL settings.
Choosing, moving, resizing and turning
- Tap an element on the card to choose it: a box appears around it. A second tap at the same spot chooses the element below. A tap where there is nothing clears the choice.
- Drag the element to move it.
- Pull the dot at the bottom right corner to resize it.
- Pull the dot above the box to turn it.
A line moves but has no dots. A locked layer can be chosen but does not move. Each drag counts as a single Undo step.
With a physical keyboard these shortcuts work too (while you type in a text field, the keys go to the field):
| Keys | What it does |
|---|---|
| Arrow keys | Move the chosen layer by 5 canvas pixels |
| Shift + arrow keys | Move it by 50 pixels |
| Delete or Backspace | Delete the chosen layer |
| Ctrl + D | Duplicate the chosen layer |
| Ctrl + Z | Undo |
| Ctrl + Shift + Z or Ctrl + Y | Redo |
| Tab / Shift + Tab | Choose the next / previous layer |
On a Mac Cmd works in place of Ctrl. Under the card the tip says "Drag, pull the corners, turn from the dot"; on a computer, with mouse and keyboard, it also lists the main shortcuts.
Changing the style
- Choose a layer on the card or in the Layers tab.
- Open the Style tab and change the values: the card updates at once.
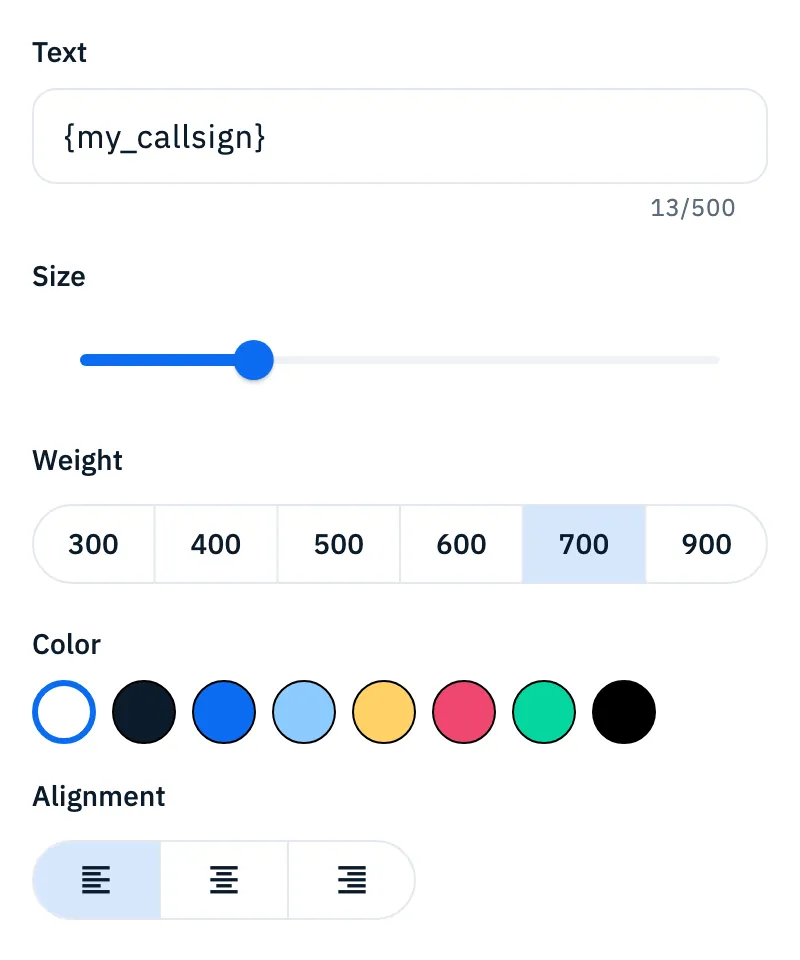
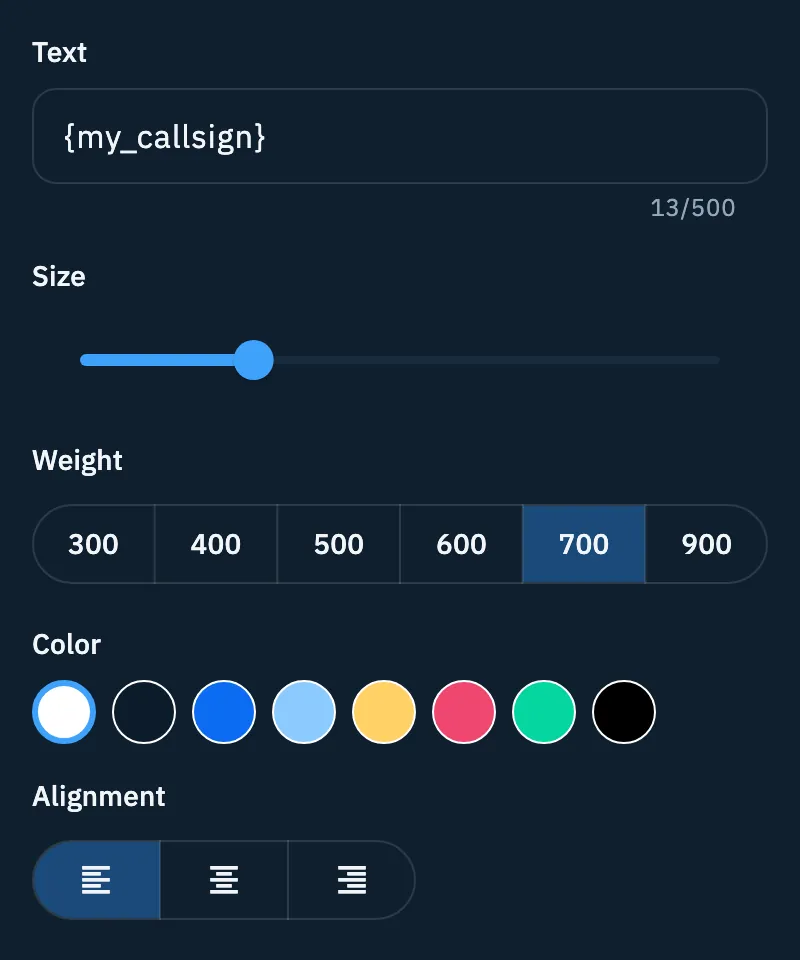
| Layer | What you can change |
|---|---|
| Text | Text, Size, Weight, Color, Alignment (left, center, right) |
| Rectangle | Fill, Corners |
| Circle | Fill |
| Photo and logo | Blur, Corners |
| QSO table | Size, Weight, Color, Label color, Columns (on or off) |
- Text: up to 500 characters. The text reaches the card when you confirm or leave the field.
- Size: from 4 to 800 canvas pixels; a new text starts at 96.
- Weight: 300, 400, 500, 600, 700 or 900.
- Color, Fill and Label color: one of the eight colors offered (white, dark blue, blue, light blue, yellow, pink, green, black).
- Blur: from 0 to 100. Corners: from 0 to 900.
- Columns of the table: callsign, date, UTC time, band, frequency, mode, RST sent, RST received, their locator and country, reference, distance.
Dragging a slider counts as a single Undo step. With no layer chosen, and for lines and maps, the tab says "Choose a layer to change its style."
Layers and the quick bar
The Layers tab lists the elements of the face you are looking at (Front layers or Back layers), from the top one down.
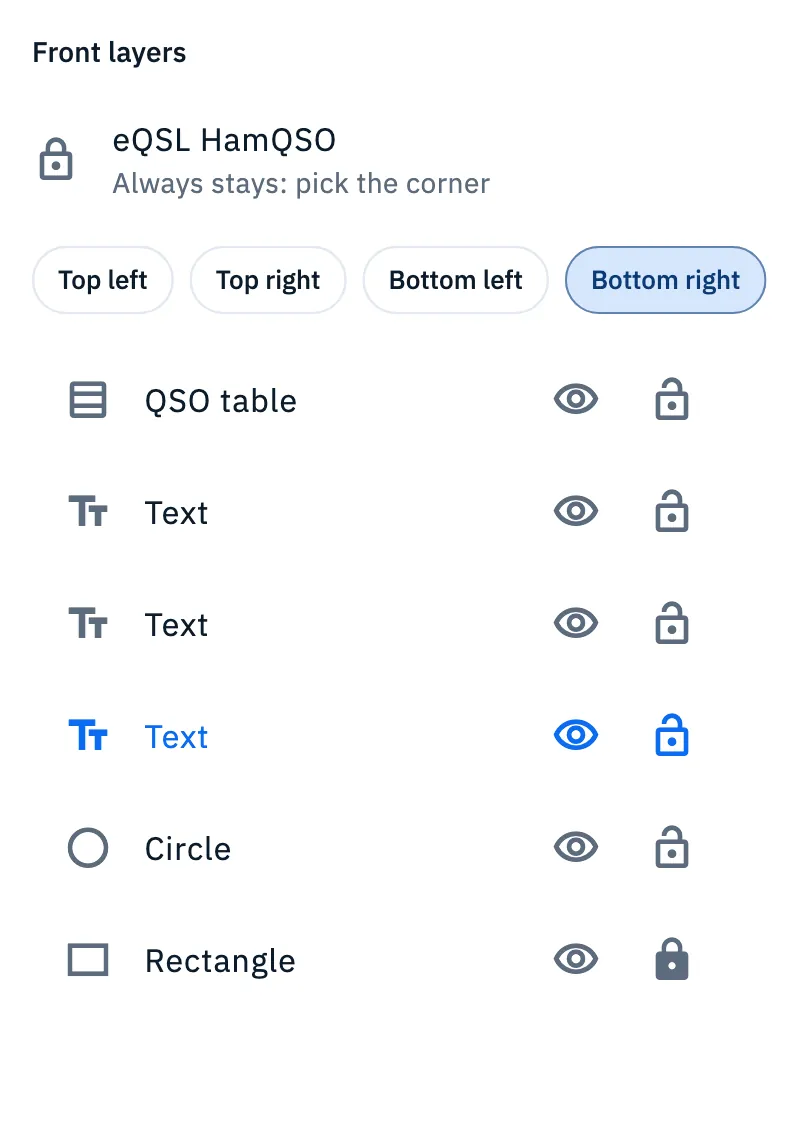
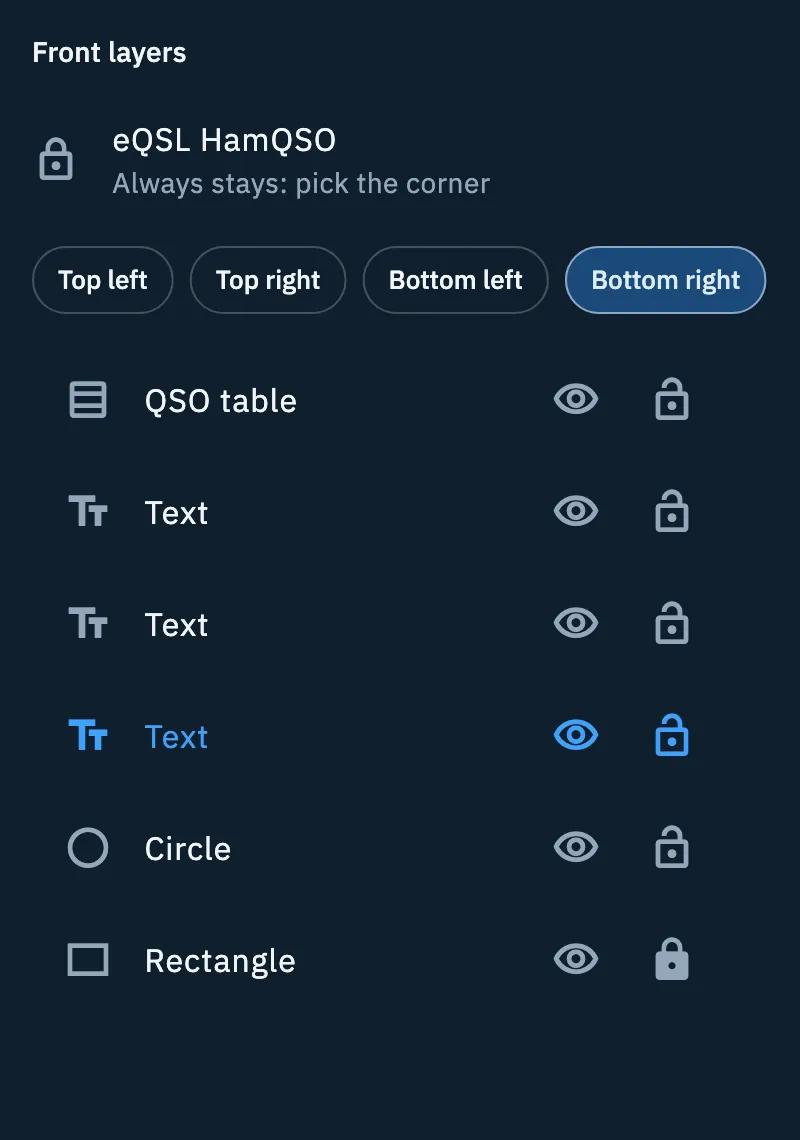
- At the top is the eQSL HamQSO mark: "Always stays: pick the corner". It cannot be removed; you only choose Top left, Top right, Bottom left or Bottom right.
- Tap a row to choose that layer.
- Drag a row to move the layer above or below the others: on a phone or tablet press and hold it before dragging, on a computer use the row's handle.
- The eye hides the layer (Hide) or brings it back (Show). A hidden layer does not appear on the card.
- The padlock locks it (Lock) or unlocks it (Unlock): a locked layer does not move, handy for the background.
If the face has no layers you read "No layers: add a text, a photo or a QSO field."
The quick bar under the card works on the chosen layer: Duplicate makes a slightly shifted copy, Forward and Backward move it one place up or down, Delete removes it.
Seeing how it arrives
The editor draws the card on your device. To see the real image, the one the server makes, tap How it arrives: next to Front/Back on a wide screen, under the card on the phone.
- Tap How it arrives. On a wide screen a panel opens to the right of the card (close it with the X); on the phone, a sheet from the bottom.
- Look at the image of the face you are editing, "With sample data": a sample QSO and your station data where there is some.
- After a change, tap Refresh to ask for a new image.
The image is asked for only when you tap How it arrives (if the card has changed) or Refresh, one at a time. Offline the button is off.
Saving the model
- Tap Save at the top right.
- In Model name write the name, up to 80 characters (the field suggests "For example: summer portable"), and tap Save. For a model that already exists the field starts with its name.
- In the Model saved window leave Use as default checked if you want your eQSLs to go out with this model, then tap Open in Models: the editor closes and you see the model in Models. With Close you stay in the editor.
If you chose Use as default you read "Default: (model name)". If the model is already the default, the box is not there. Saving alone does not change the model of your eQSLs: you need Use as default or the choice of the model in an operation (see Choosing your card).
With Edit, saving replaces your model. With Create your own and Use as a base, the first save creates a new model and the next ones update it.
If you close the editor with unsaved changes the app asks "Leave without saving?": Keep editing or Leave without saving.
Troubleshooting
| Message | What to do |
|---|---|
| "The editor doesn't open offline" | You need a connection. When it is back the editor opens by itself, or tap Retry. |
| "Offline: you can't edit for now. What you've done stays here; you carry on when the connection is back." | The network dropped while you were editing: the editor stays, dimmed, with Save ("You can't save offline"), Undo and Redo off. Carry on when the network is back. |
| "I can't open the model." | Tap Retry. |
| "The image is over 20 MB." | Choose a lighter image. |
| "Images must be JPG, PNG or WebP." | Convert the image to one of these formats. |
| "I can't upload the image." | Check the network and try again. |
| "One of the images cannot be used in a model." | The server refused the image: use another one. |
| "One of the photos cannot be used in a model." / "One of the photos is too big." | Remove that photo or use another one, then save again. |
| "One of the photos is no longer uploaded. Add it again." | Add the photo again and save. |
| "The model name isn't valid. Write a different one." | Change the name and save again. |
| "I can't save the model." | Check the network and tap Save again. |
| "Your HamQSO Pro has ended: the model was not saved. eQSLs go out with "Your country"." | The paywall opens; the card stays in the editor. Renew Pro and save again (see Managing your subscription). |
| "I can't save. Try again." after Open in Models | The model is saved but did not become the default: choose it in Models with Use as default. |
| "Too many requests. Try again in (seconds) s." | You asked for too many How it arrives images: wait the seconds shown and tap Refresh. |
| "I can't show how the card arrives." | Tap Refresh. |
| "How it arrives is for HamQSO Pro users." | How it arrives is part of Pro: check your subscription. |